1. Getting Started
1.1. Server Requirements
-
PHP >= 7.4
-
MySQL 5.6+ or MariaDB 10.0+
-
BCMath PHP Extension
-
Ctype PHP Extension
-
Fileinfo PHP extension
-
JSON PHP Extension
-
Mbstring PHP Extension
-
OpenSSL PHP Extension
-
PDO PHP Extension
-
Tokenizer PHP Extension
-
XML PHP Extension
-
Imagick PHP Extension
-
GD PHP Extension
1.2. Directory
Laramagz/
    ├── app/
    │   └── laramagz.zip
    ├── database/
    │   └── laramagz.sql
    └── documentation/
        └── laramagz.pdf
2. Installing Laramagz
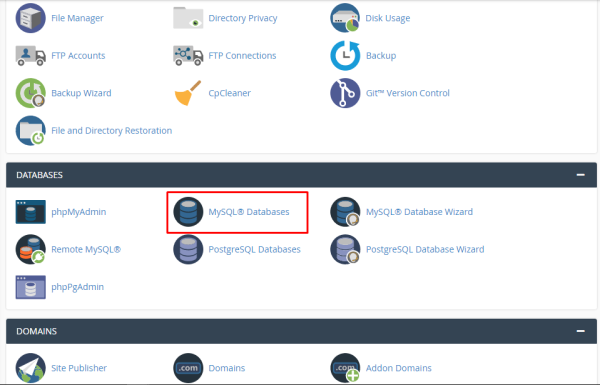
2.1. Install on Server
-
Click MySQL ® Databases.
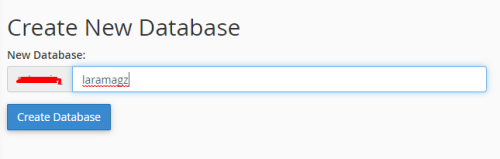
-
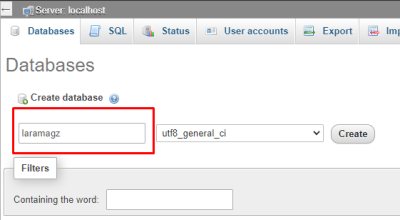
Create new database.
-
Create new user and then click Password Generator.

-
Password Generator.
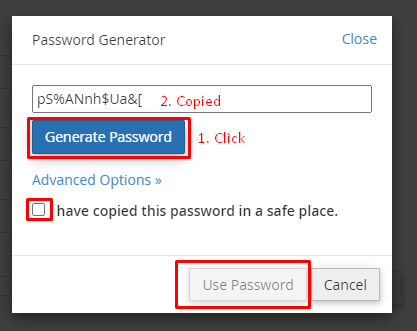
-
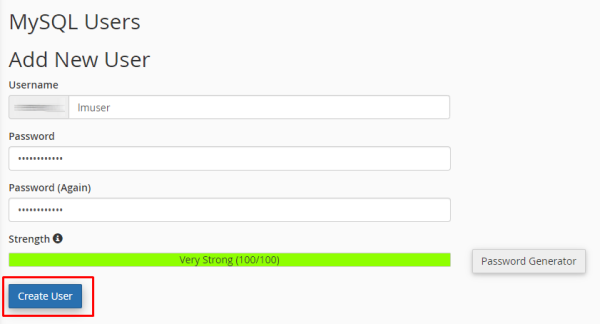
Create User.
-
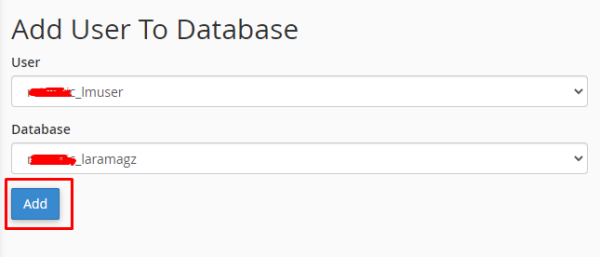
Add User to Database.
-
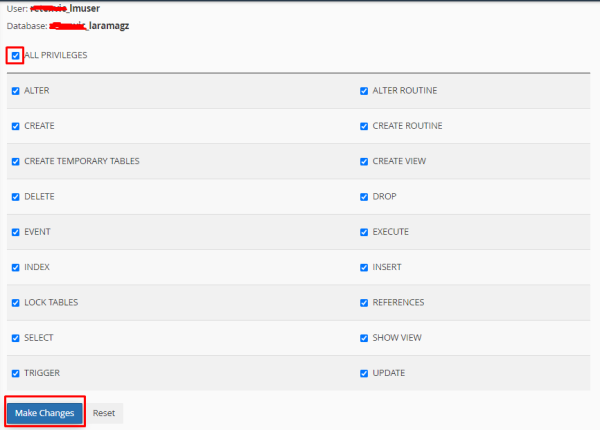
Manage User Privileges.
-
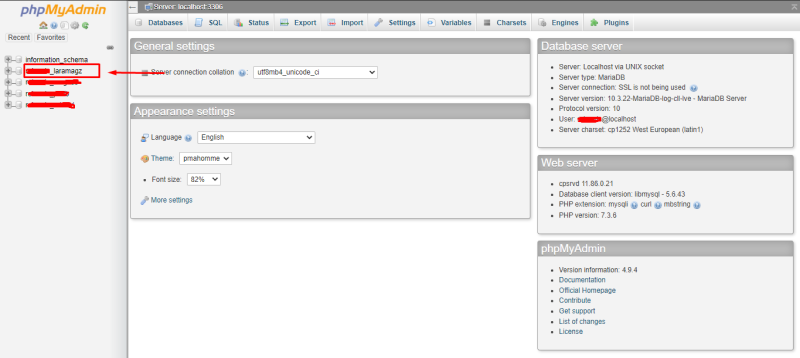
Go to phpMyAdmin.

-
Clik your database.
-
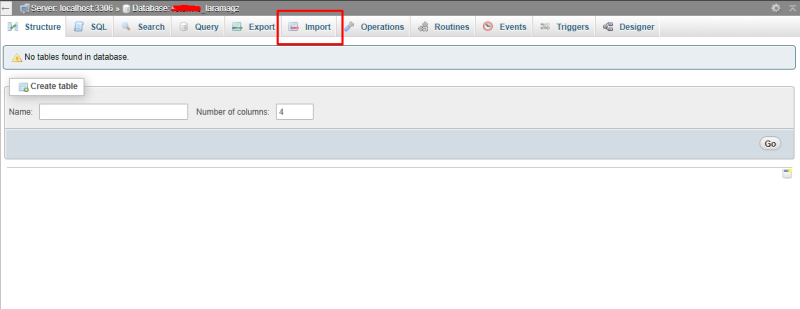
Click Import.
-
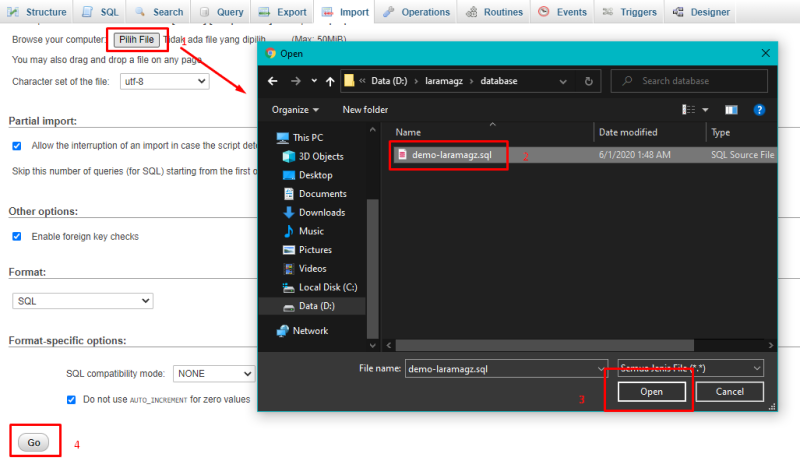
Upload database file.
-
Import has been successfully.

-
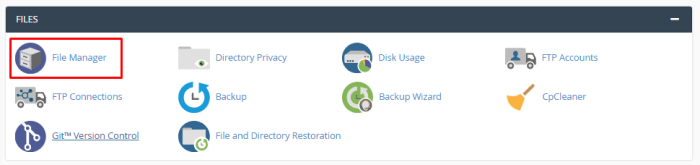
Back to CPanel. Clik File Manager.
-
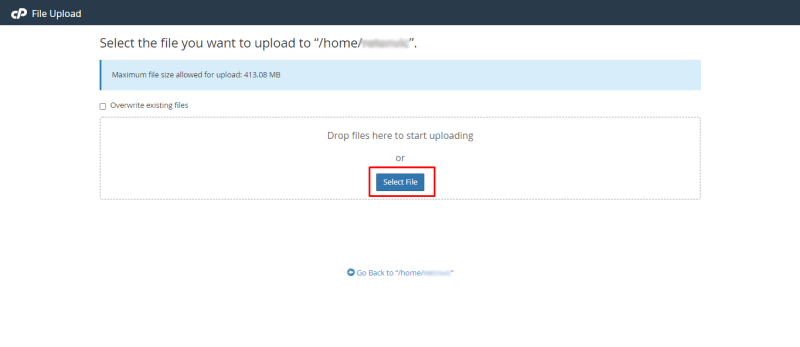
Click Upload.

-
Click Select File.
-
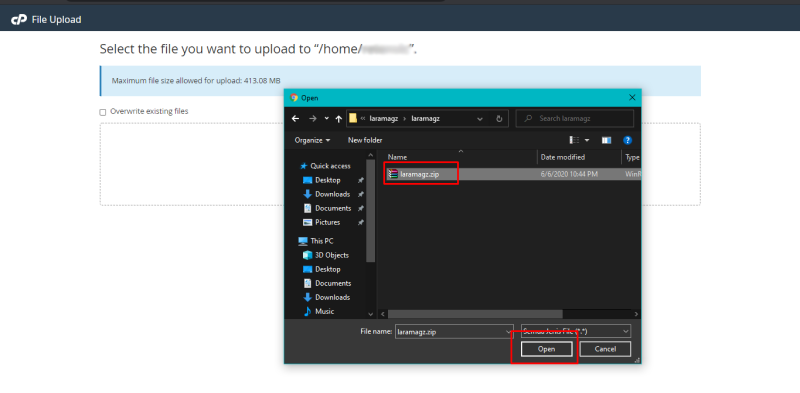
Select file laramagz.zip.
-
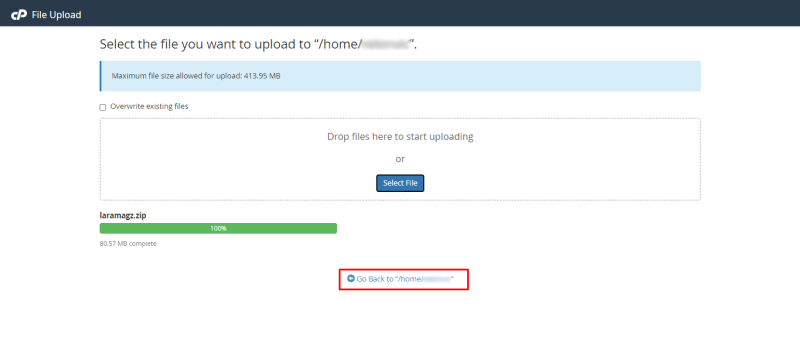
Click Go Back to "/home/xxx"
-
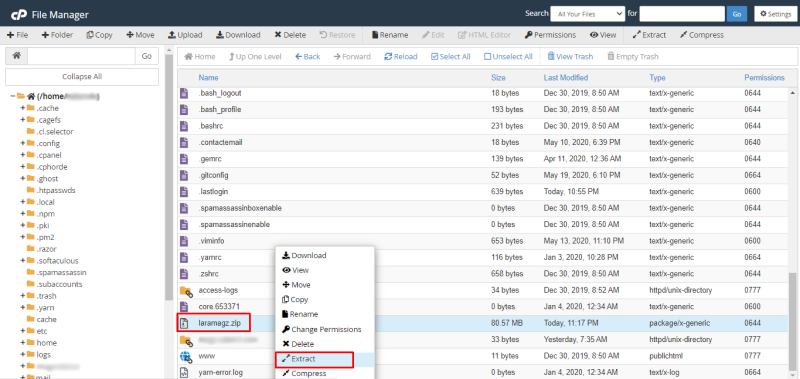
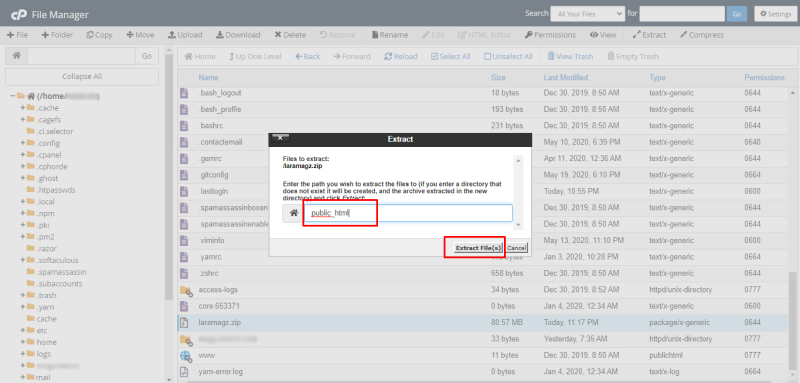
Extract laramagz.zip.
-
Click Extract File(s).
-
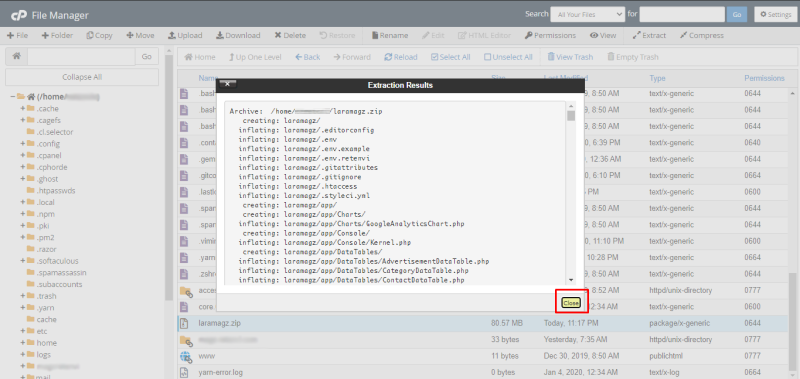
Click "close".
-
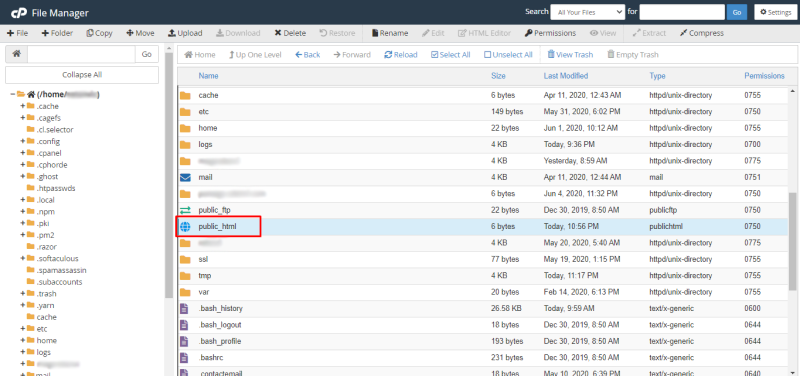
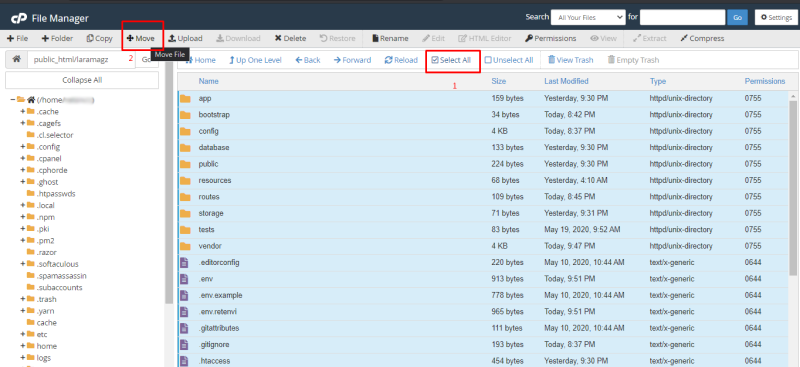
Go to folder public_html.
-
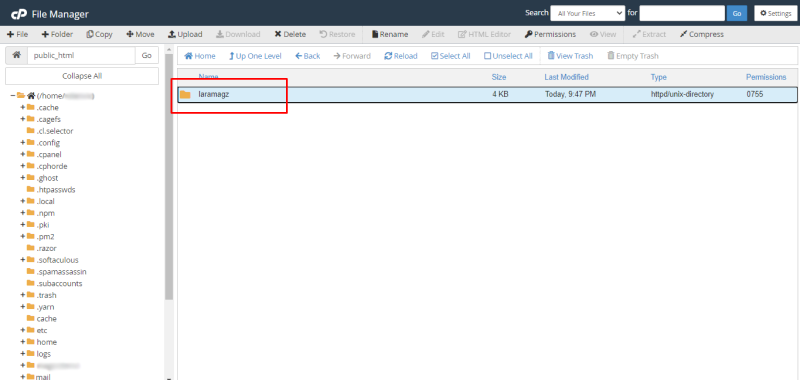
Got to folder laramagz .
-
Click Select All and Move.
-
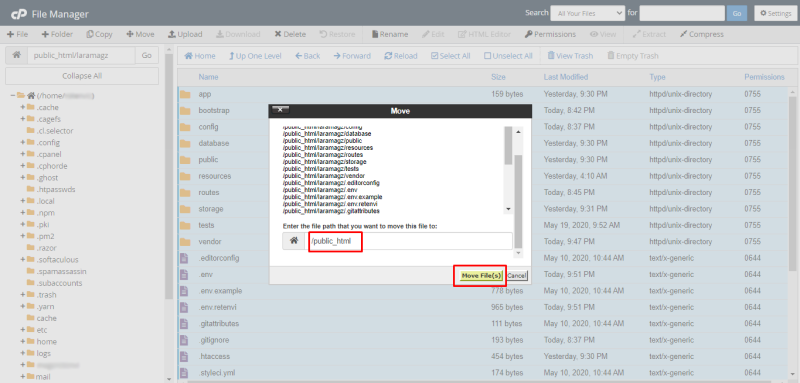
Type /public_html then click Move File(s).
-
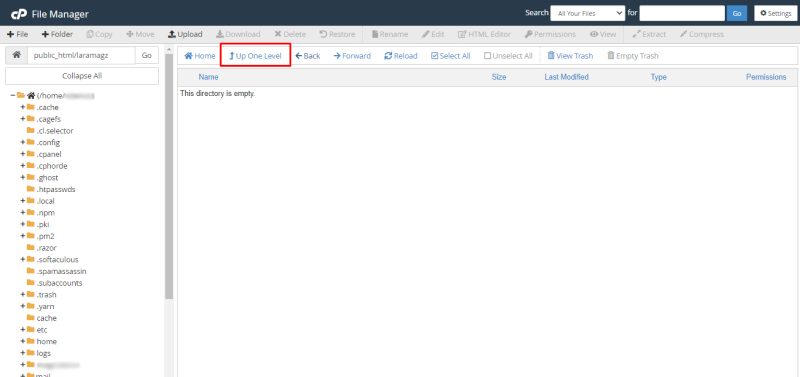
Click Up One Level.
-
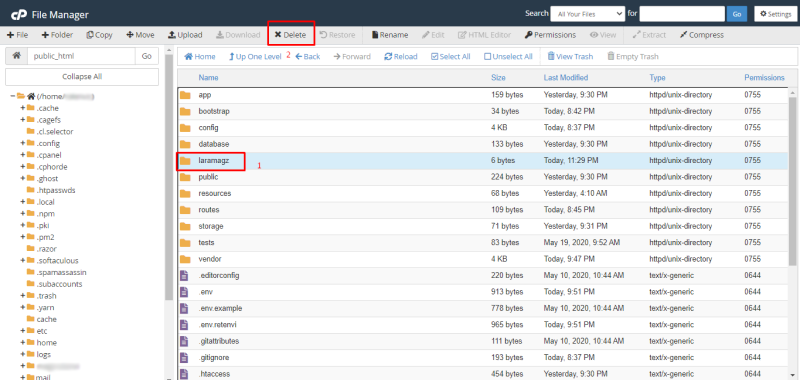
Select folder laramagz then click Delete.
-
Checklist Skip then click confirm
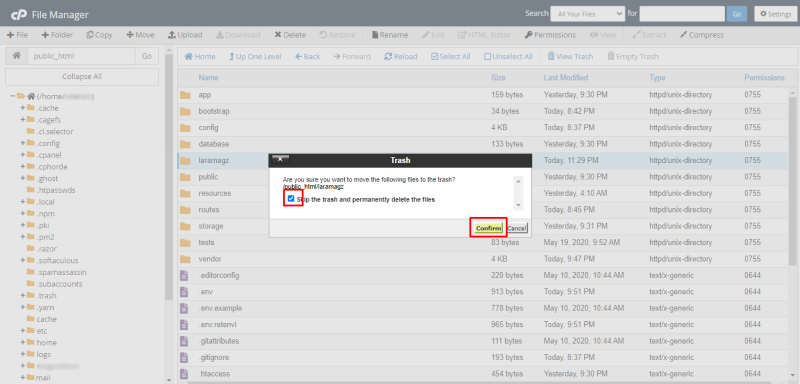
-
Select right at file .env and click edit
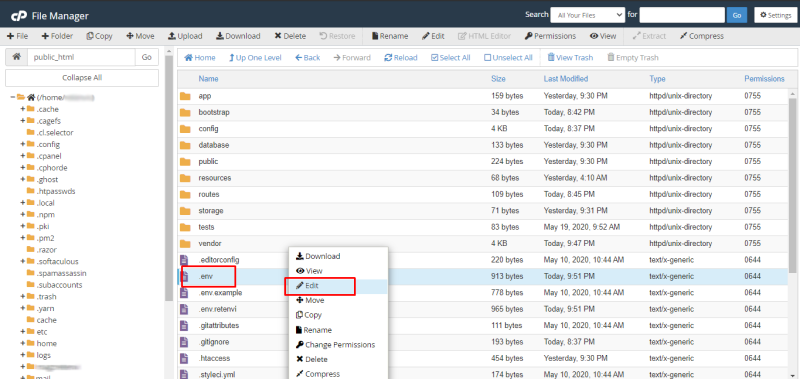
-
Edit file .env
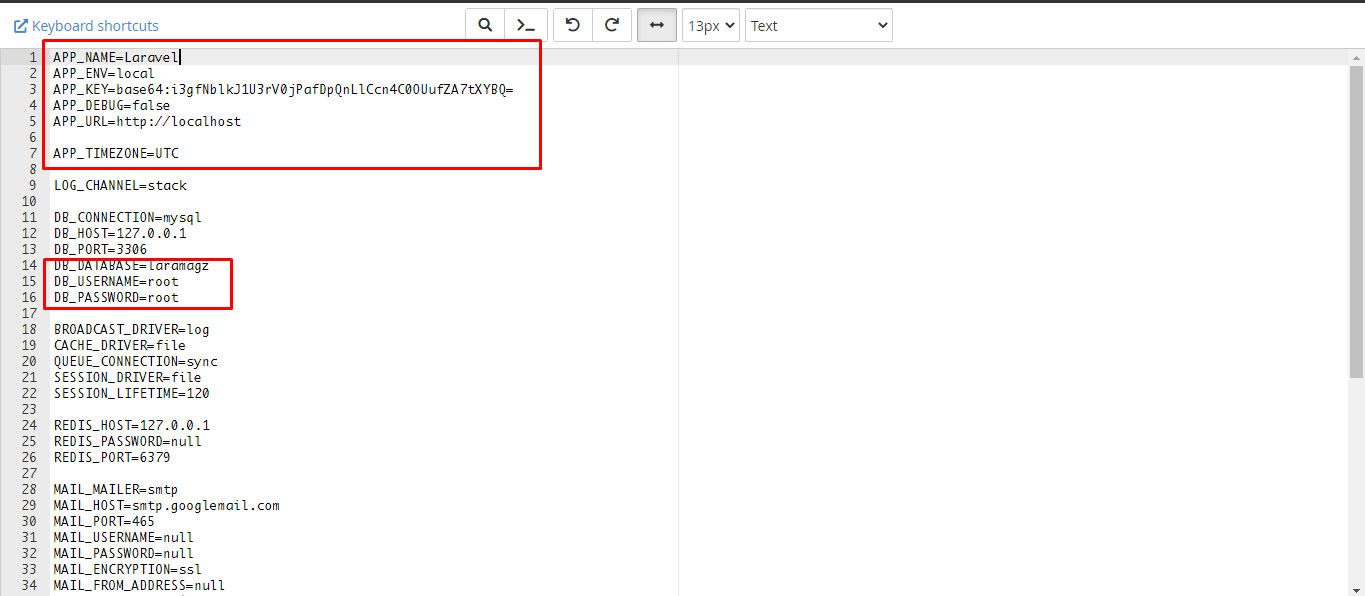
-
Goto root home and Delete file laramagz.zip
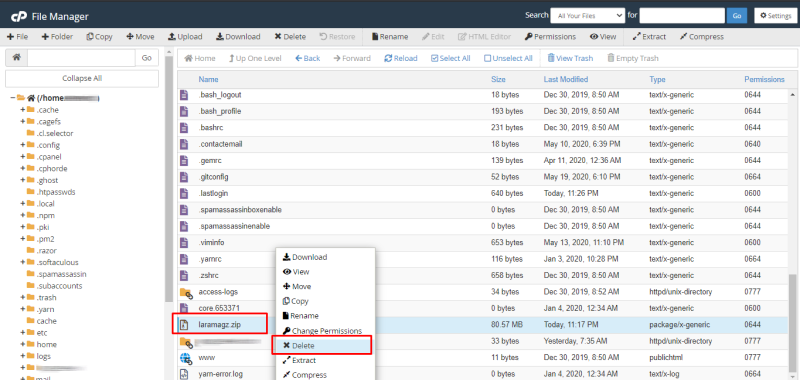
-
See this video
2.1.1. Install in a subfolder
2.2. Install on Local Computer
-
Create Database
-
Extract file zip
-
Set .env file
DB_DATABASE=laramagz
DB_USERNAME=root
DB_PASSWORD=root
-
Import database or migrate file
php artisan migrate --seed -
Running serve Artisan command
php artisan serve -
See this video
-
Update Database (local)
php artisan migrate:refresh --seed
//or
php artisan migrate:fresh --seed
3. Configuration
3.1. Google Analytics
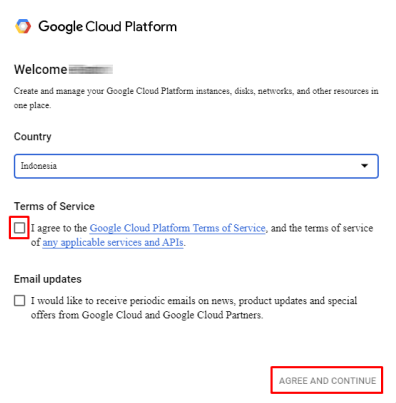
If you are using GoogleAPIs for the first time, you will find the following display. Click "I agree .." in the Terms of Service and then click "Agree And Continue"
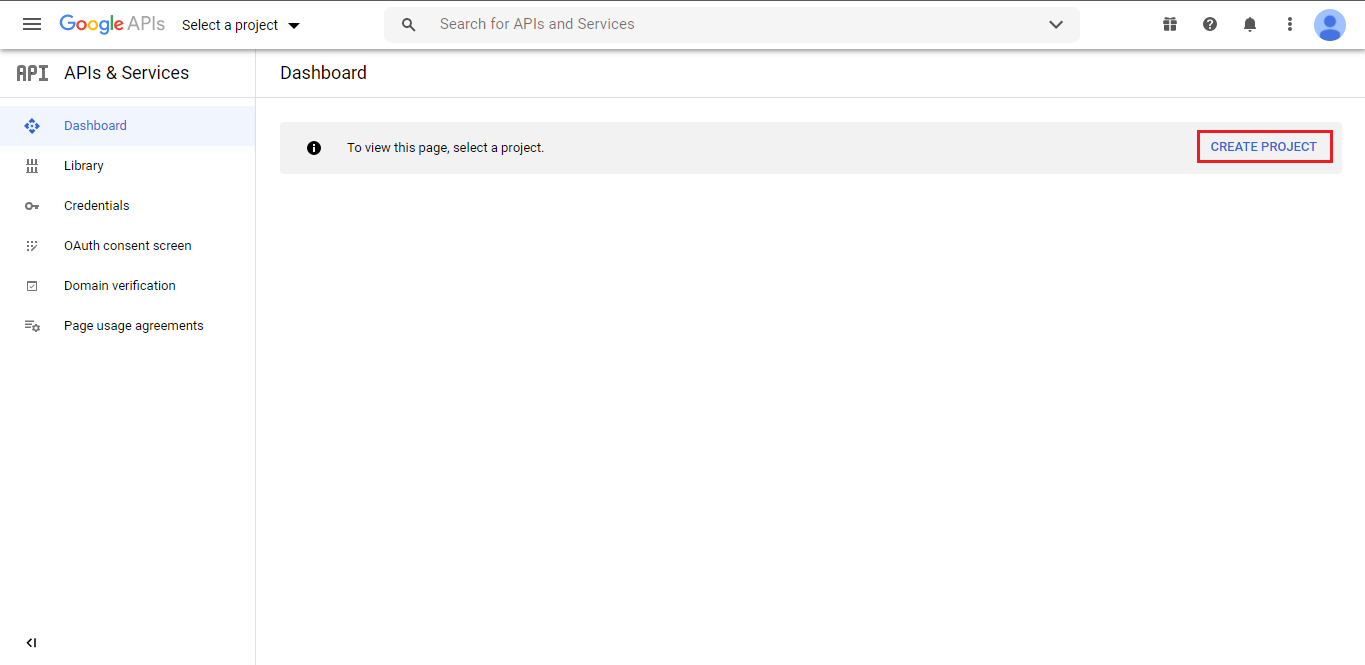
Click CREATE PROJECT
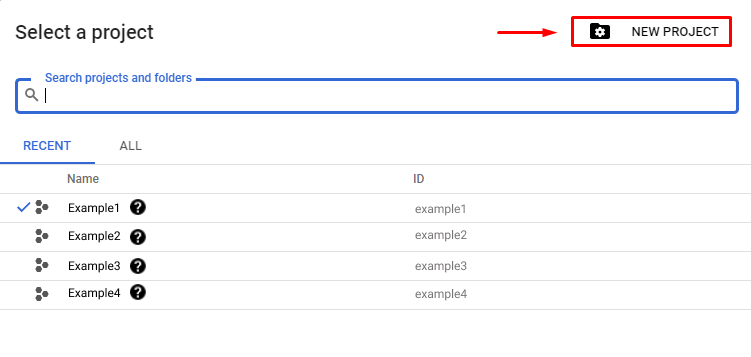
If you’ve made a project before, click select project from the top bar menu:
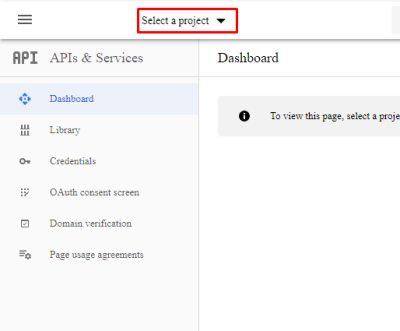
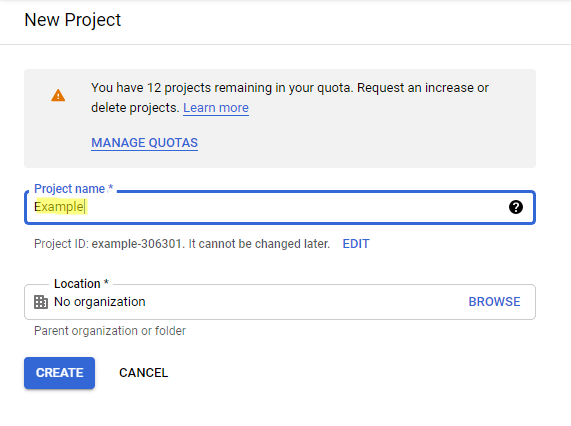
Click NEW PROJECT
-
Type a new project name
-
Click ENABLE APIS AND SERVICES
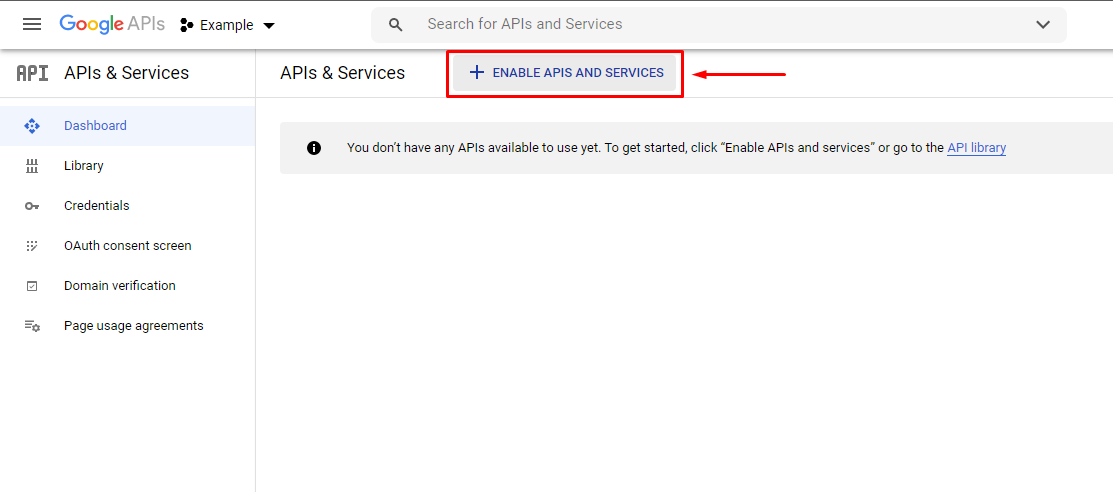
-
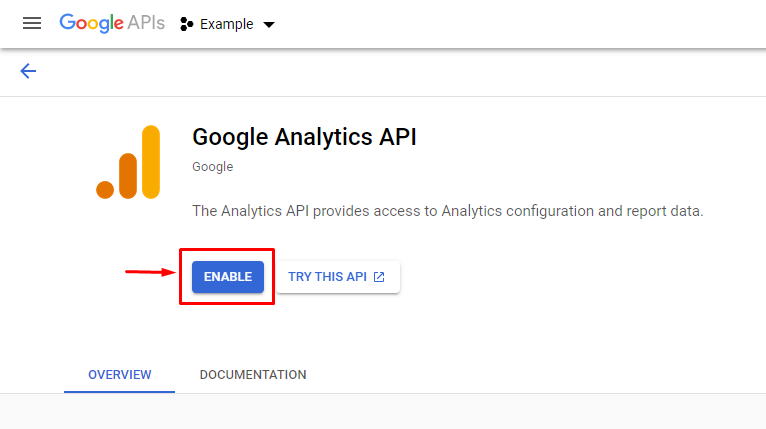
Find and select Analytics API
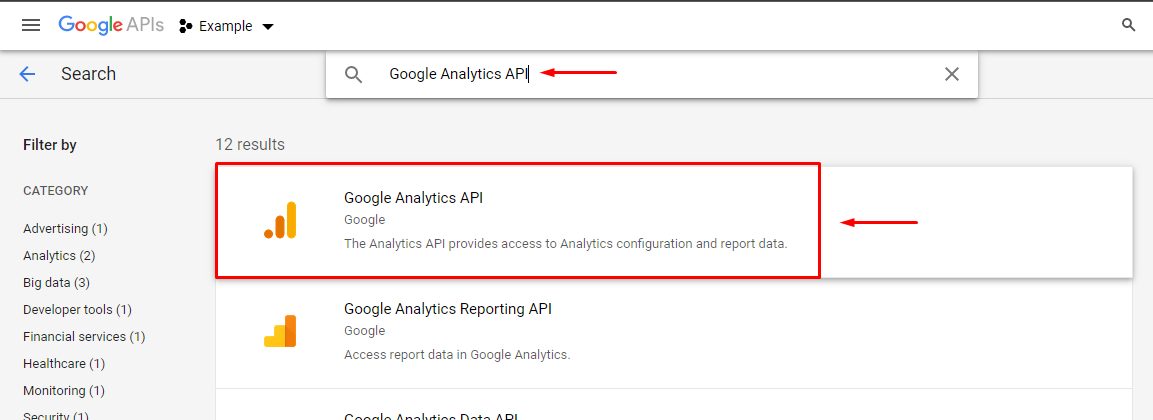
-
Click ENABLE
-
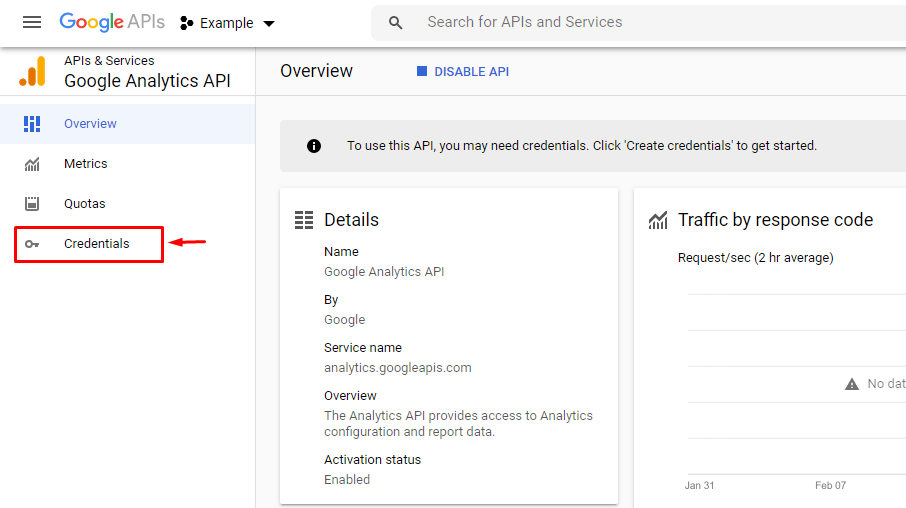
Click Credentials
-
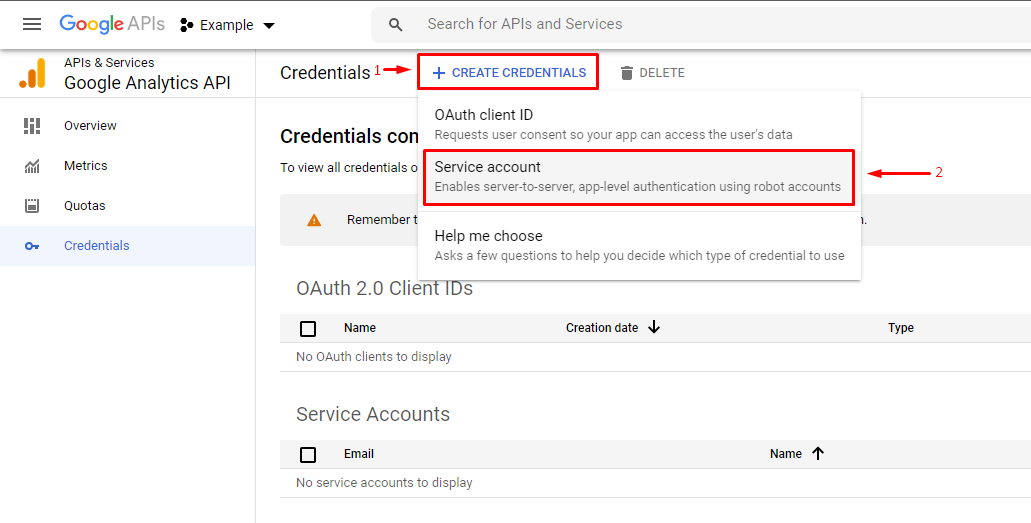
Click CREATE CREDENTIALS, click Service account
-
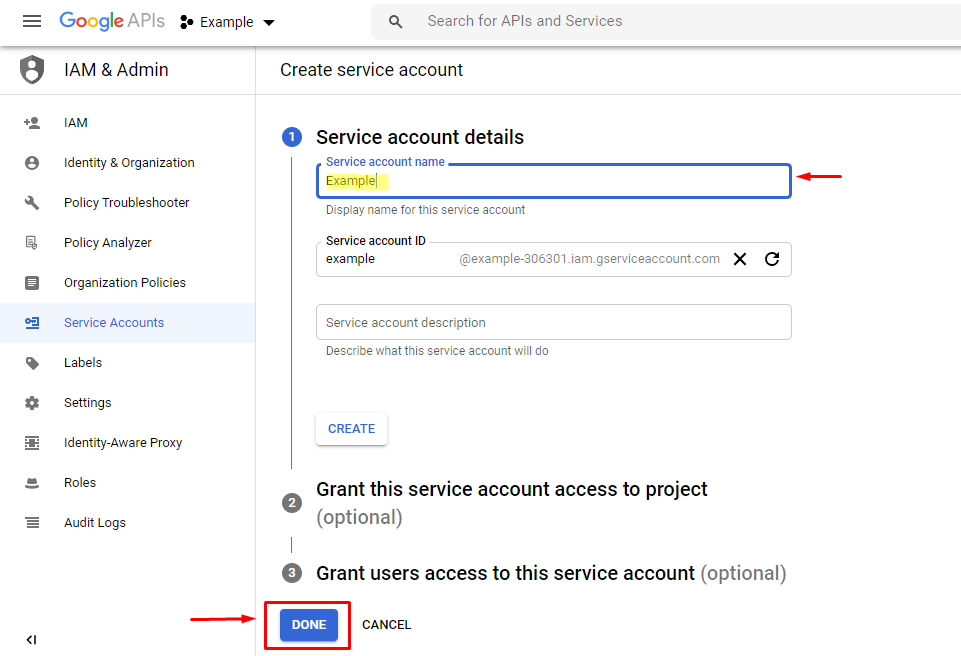
Type Service account name, click DONE
-
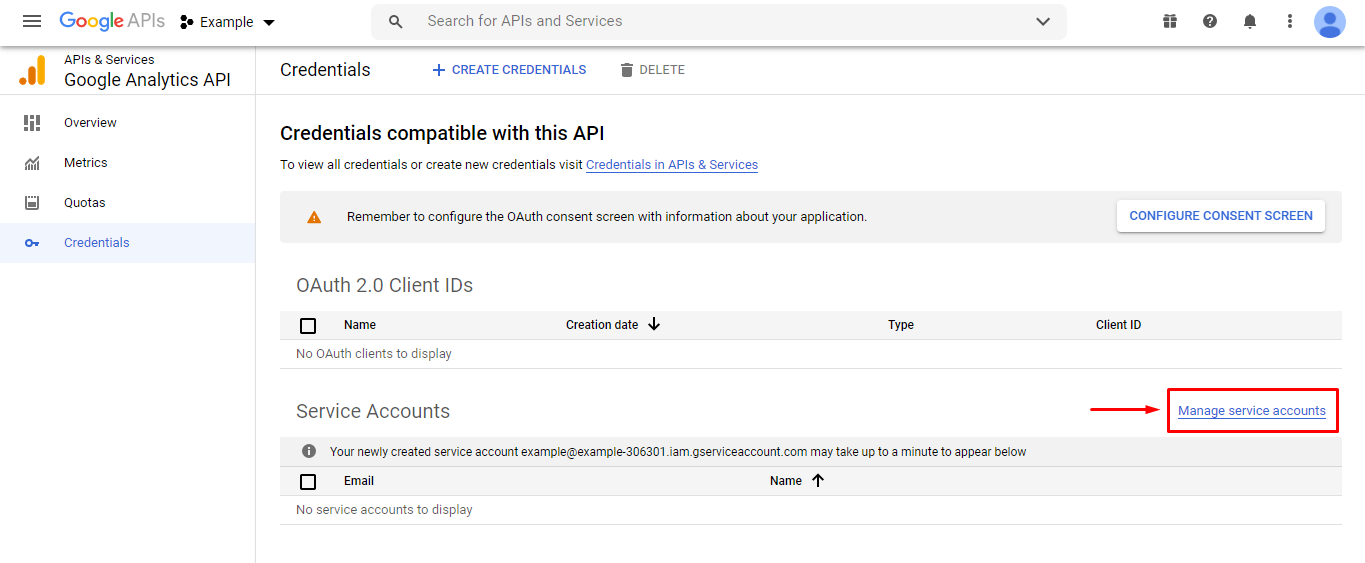
Click "Manage service accounts"
-
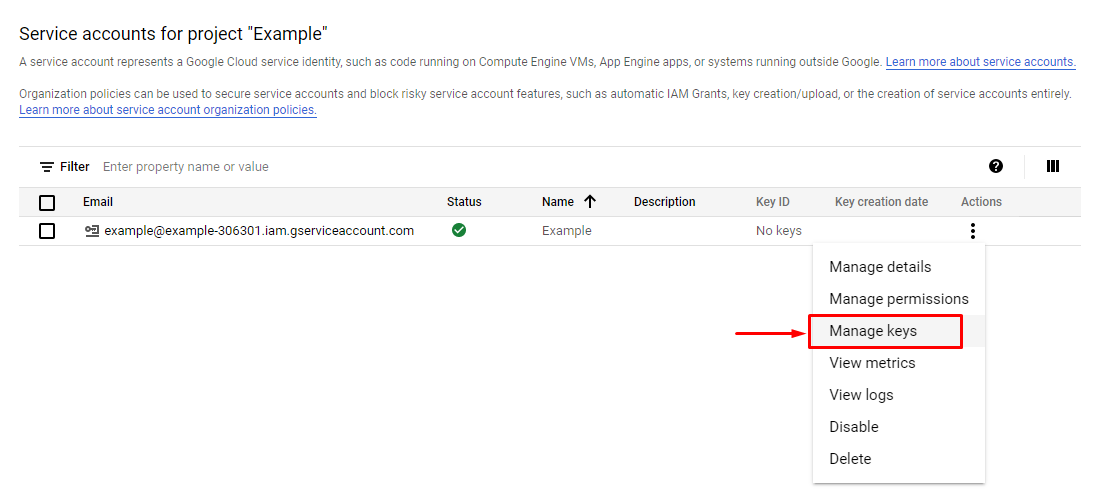
Click Actions and select "Manage keys"
-
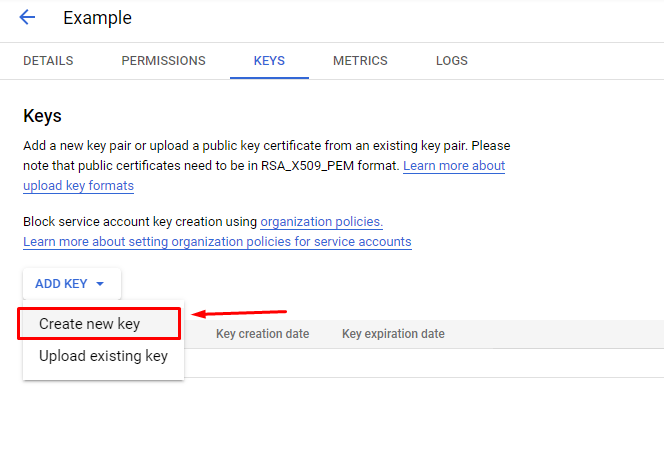
Click "ADD KEY" and select "Create new key"
-
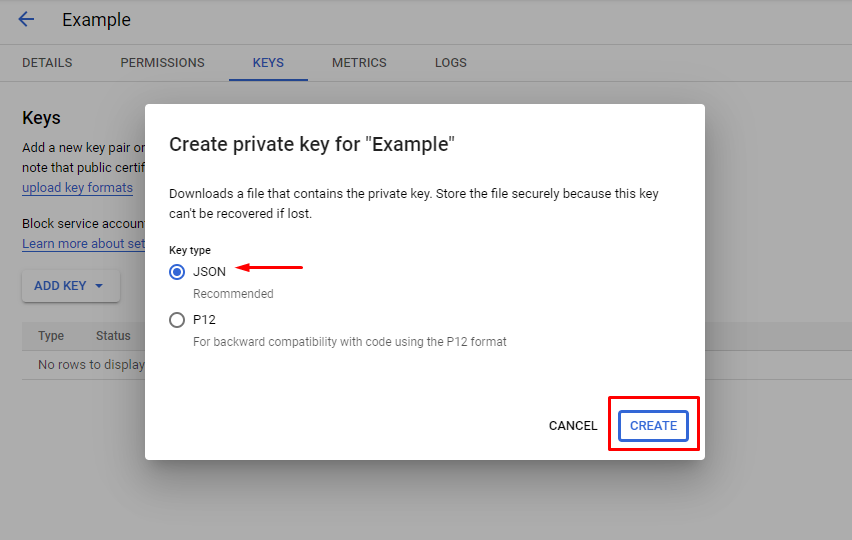
Select key type "JSON"
-
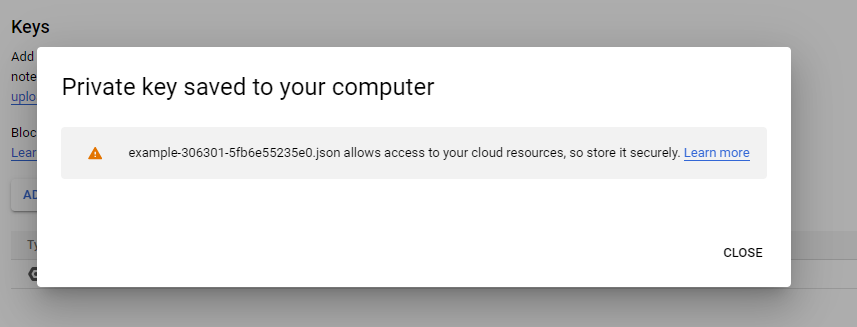
The json file will be downloaded automatically and a notification "Private key saved to your computer" will appear. Click CLOSE.
Rename file name-xxxxx-xxxxx.jsontoservice-account-credentials.json, and save instorage/app/analytics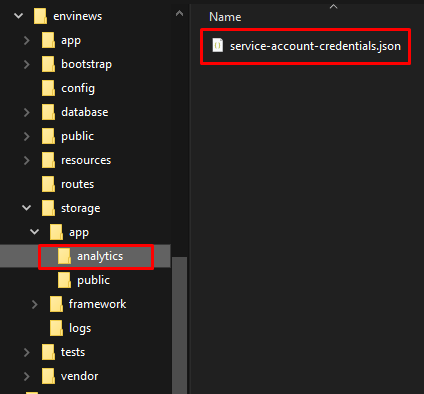
-
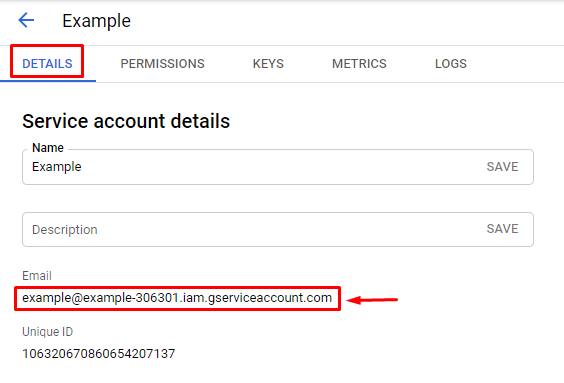
Go to the details tab and copy the email shown
-
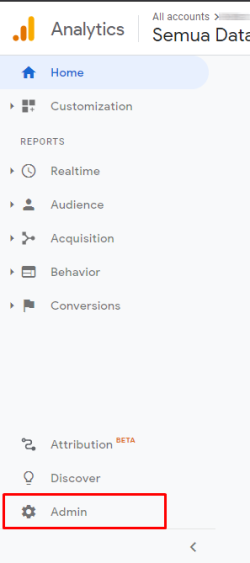
Go to https://analytics.google.com/analytics/web/
If you open Google Analytics for the first time, you will get the following screen:

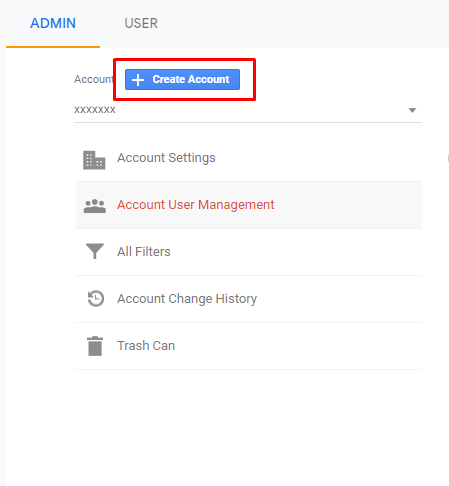
If you already have an account name, select admin:
Click "Create Account"
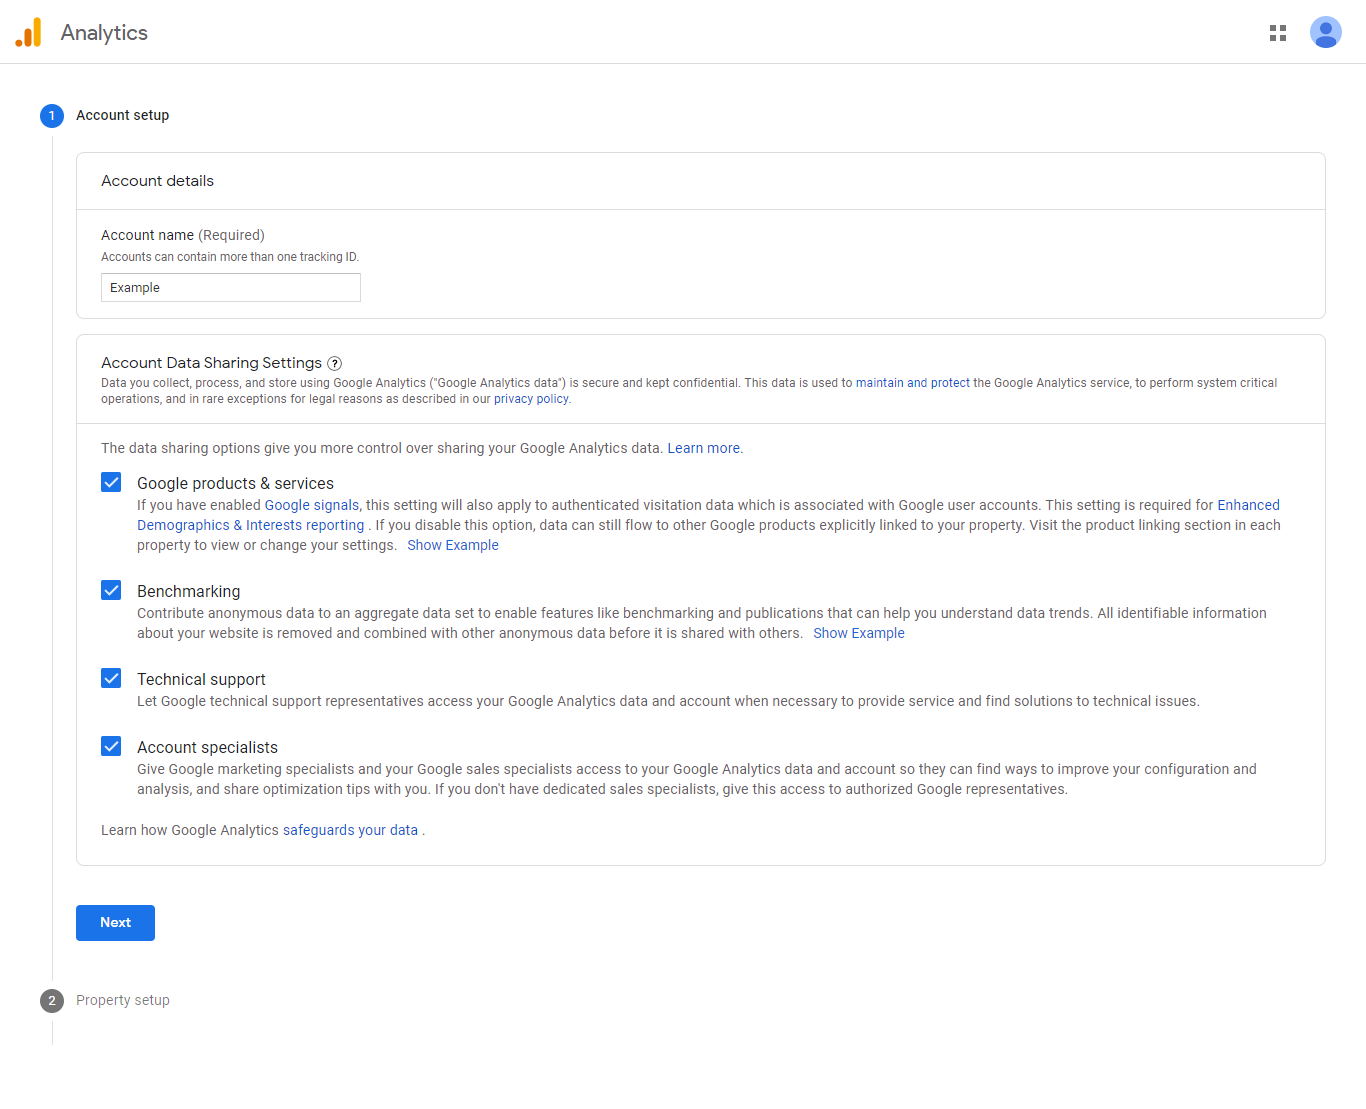
-
Type in the account name and then check all data sharing options. Then click Next.
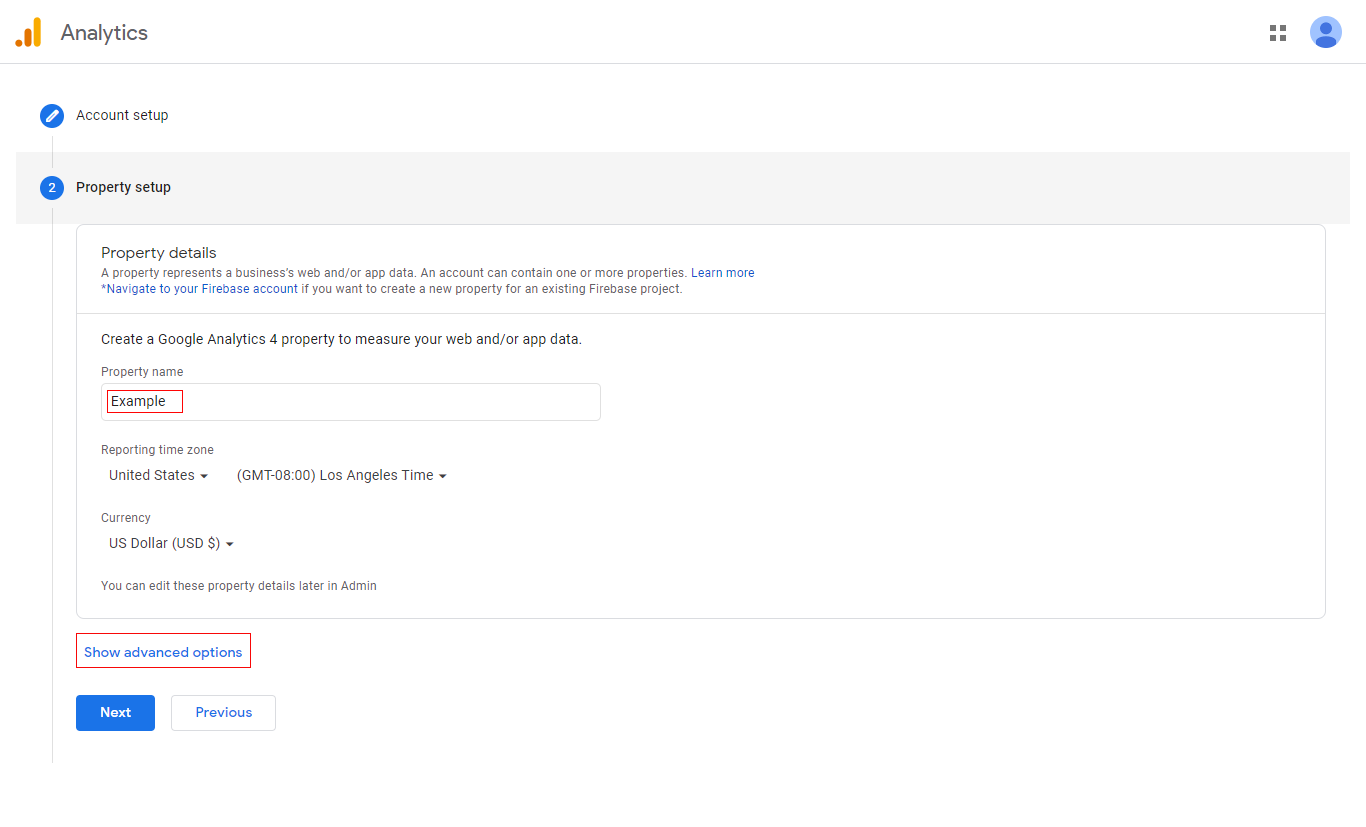
-
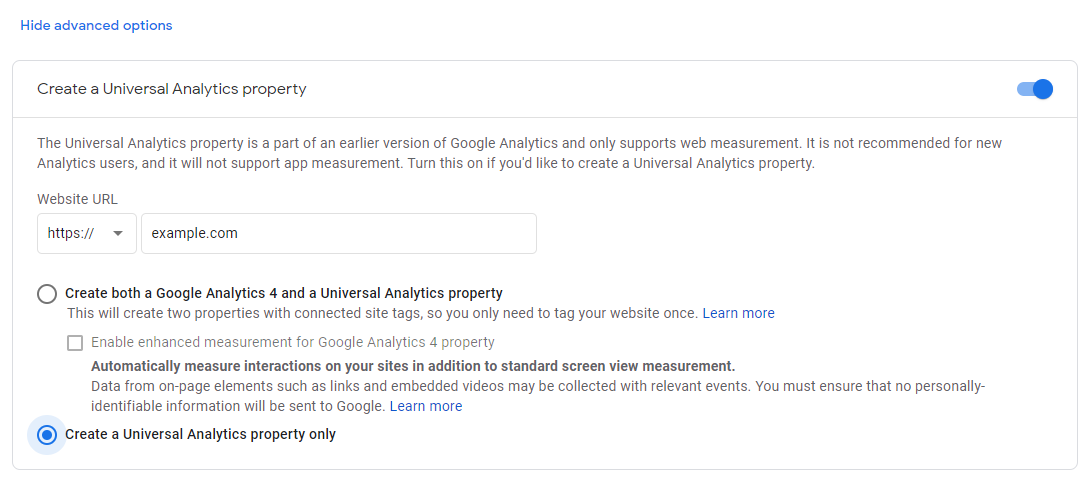
Type the property name and then click "Show advanced options"
-
Enable "Create a Universal Analytics property".
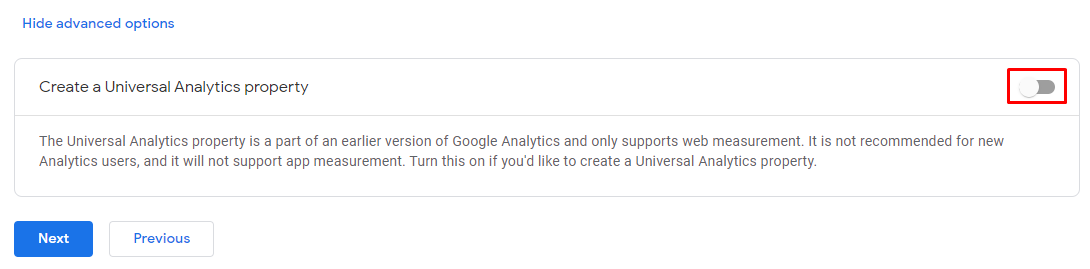
-
Enter the Website URL and then select "Create a Universal Analytics property only". Then click Next.
-
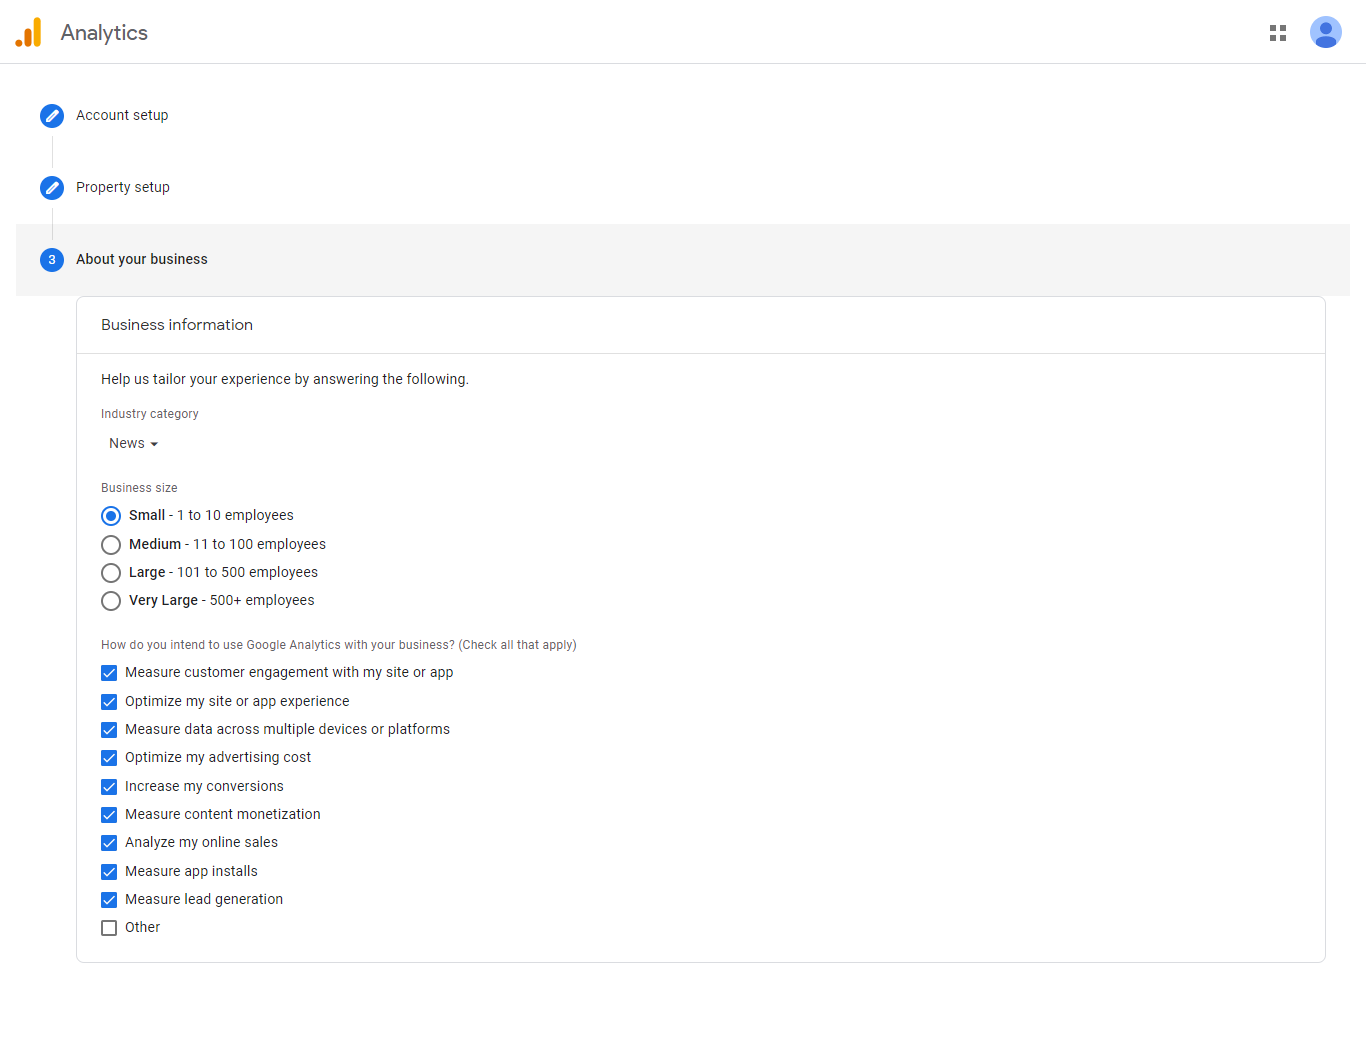
Set about your business, then click "Create"
-
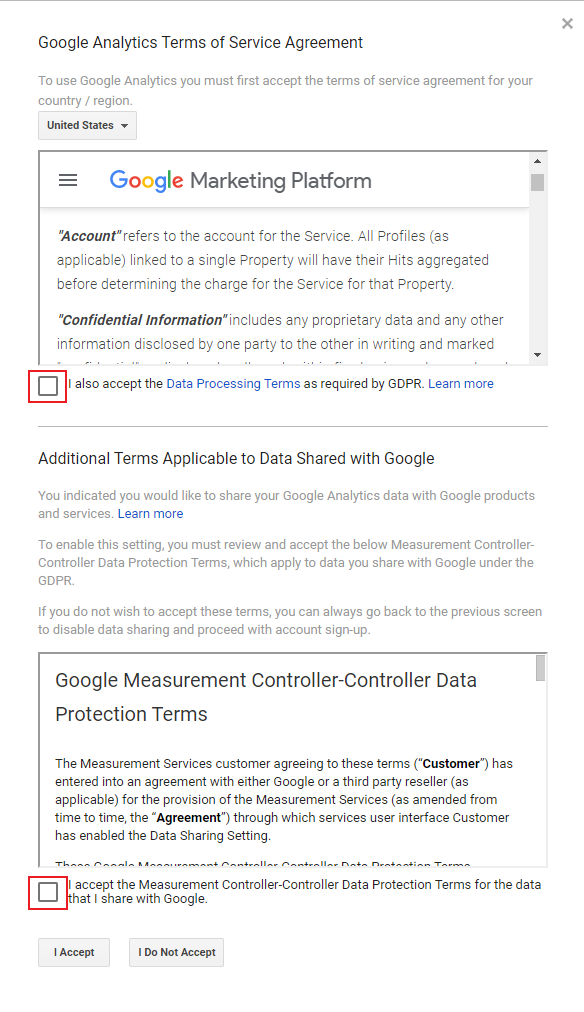
Checklist Term of Service Agreement and cklick "I Accept".
-
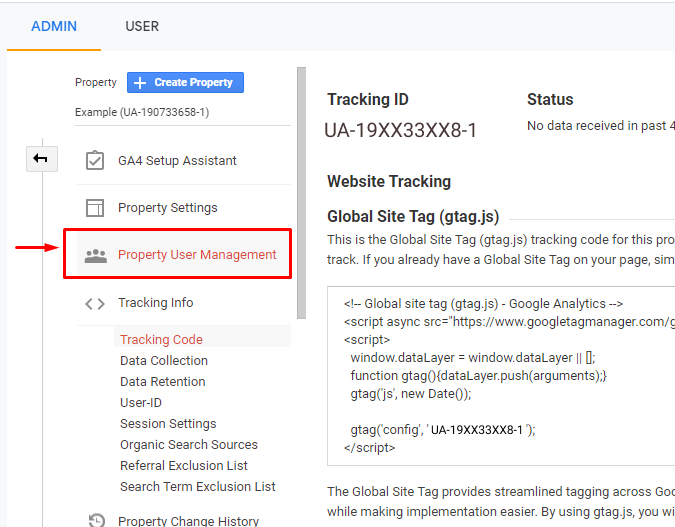
Copy and save Tracking ID
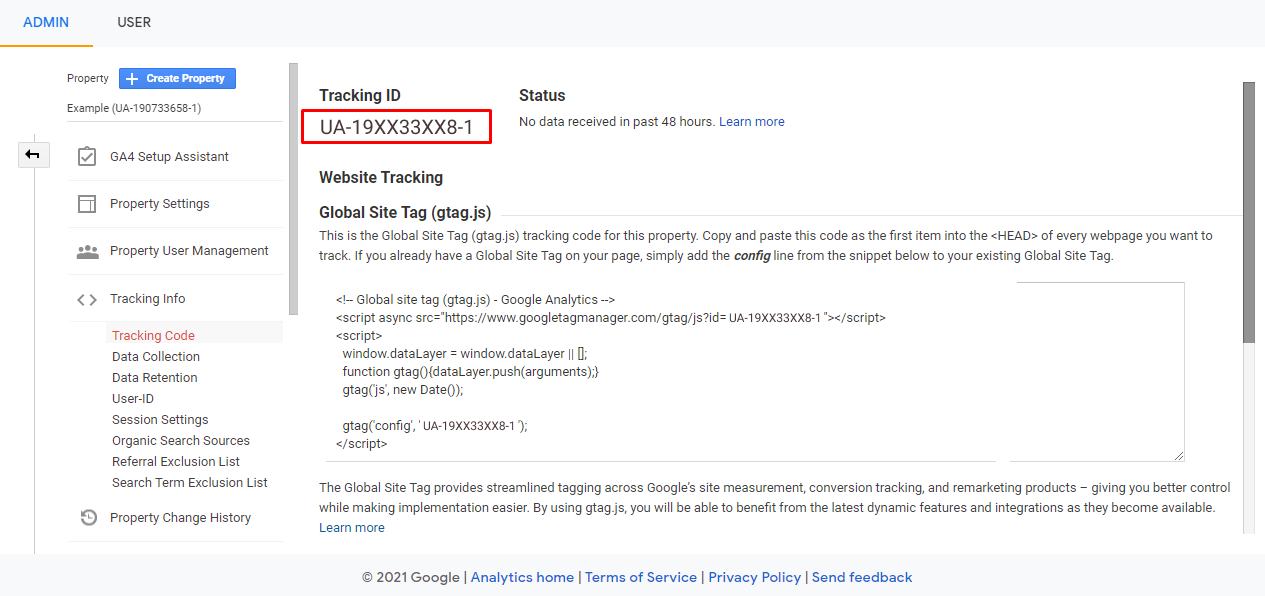
Enter the Tracking ID value in the Google Analytics ID field in Settings menu > Web Config 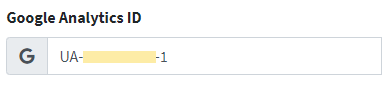
-
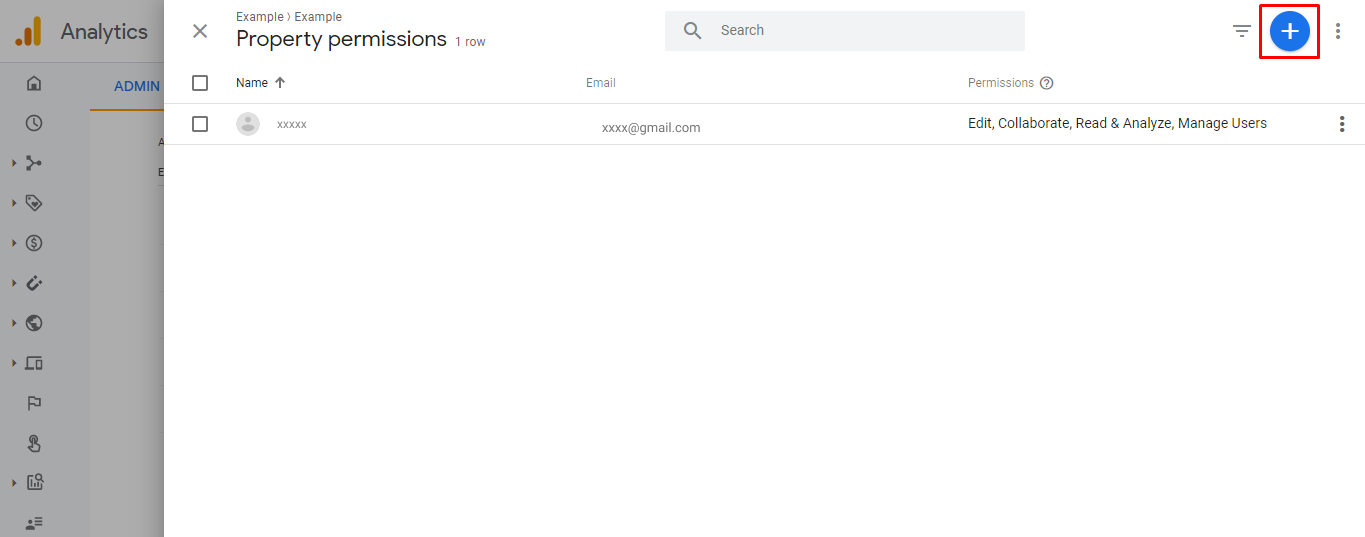
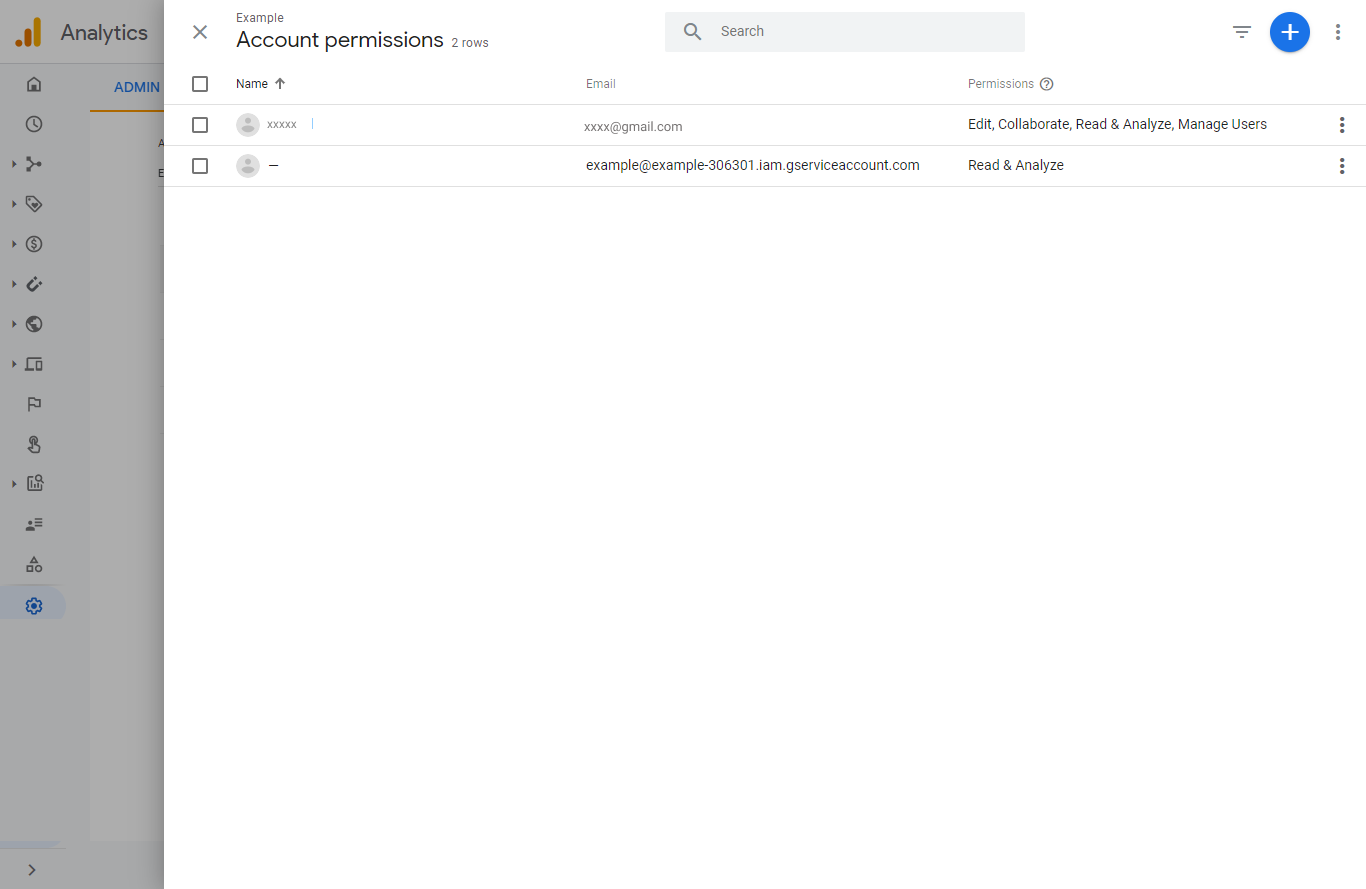
Click "Property User Management"
-
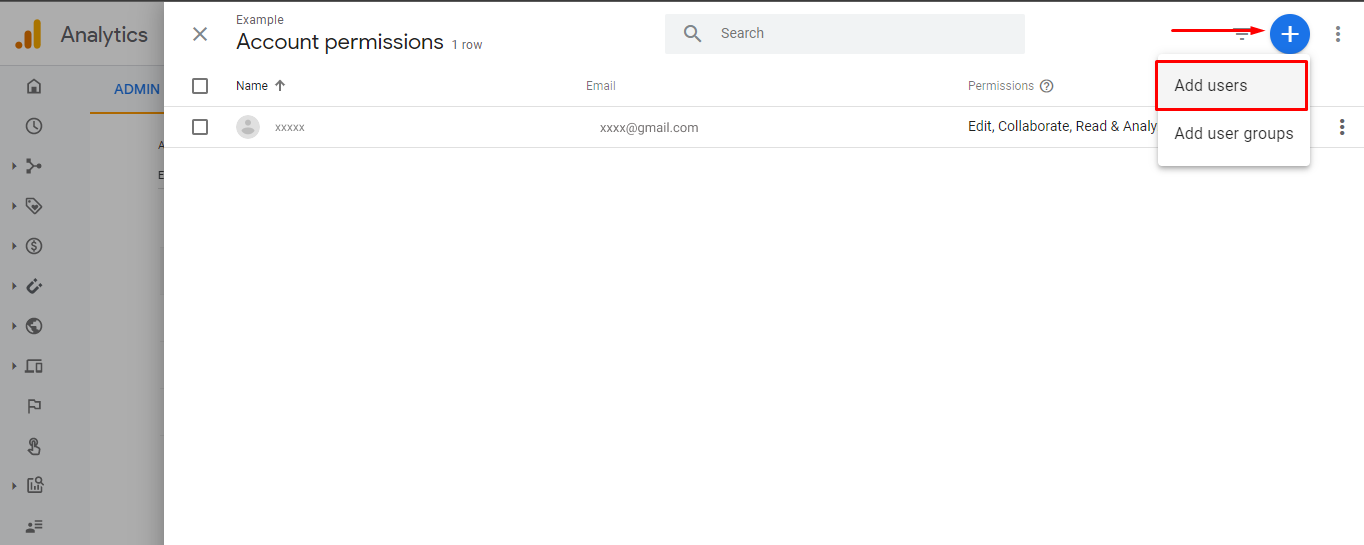
Click button plus
-
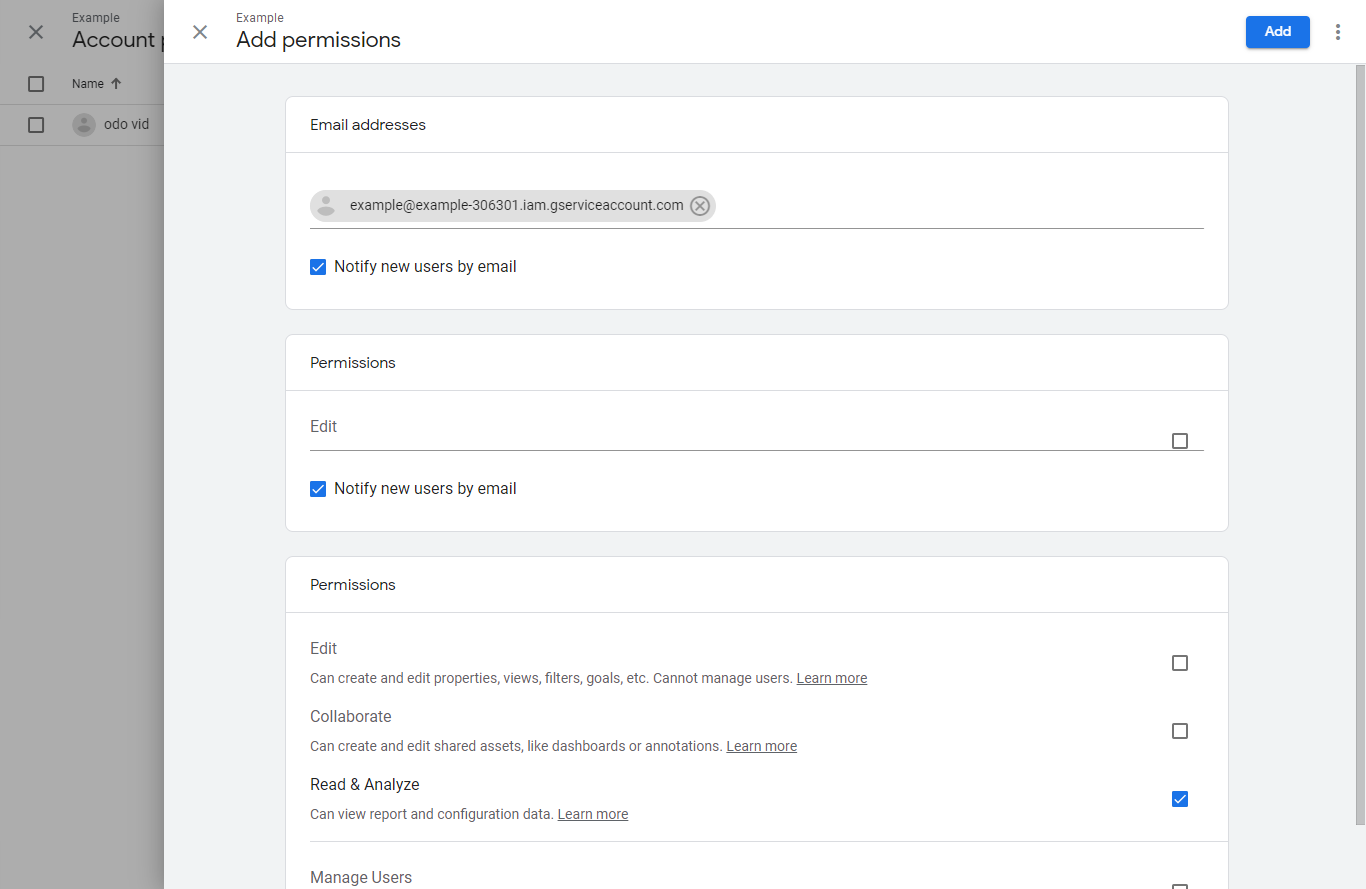
Click "Add users"
-
Type the email that you copied from Google APIs, then click "Add".
-
Click "View Settings"
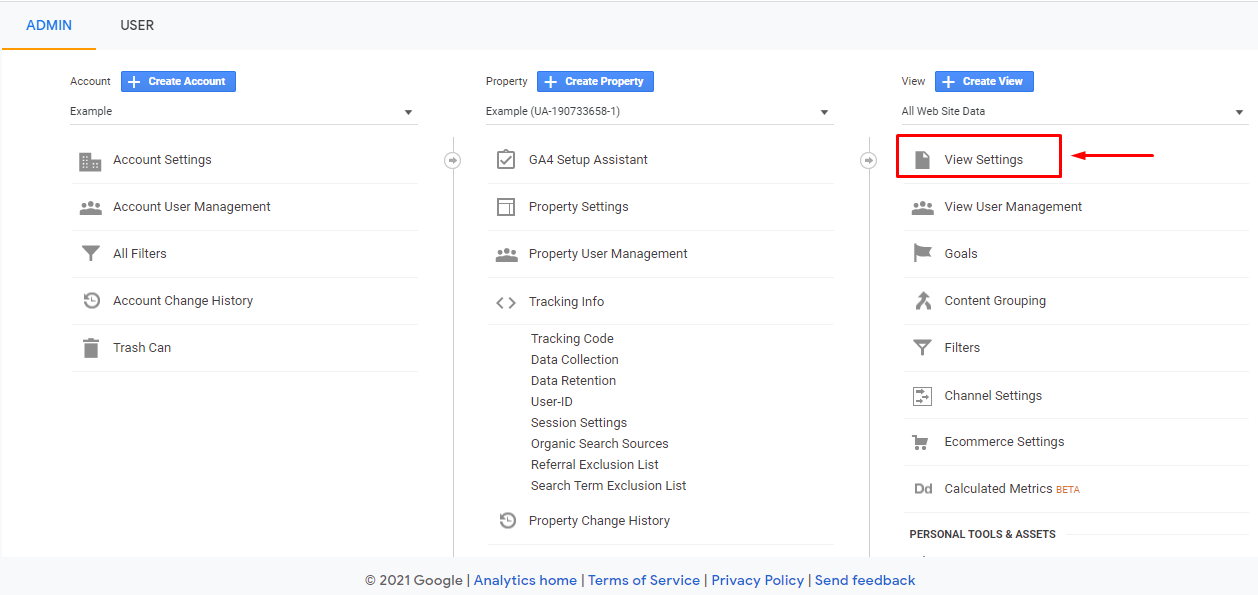
-
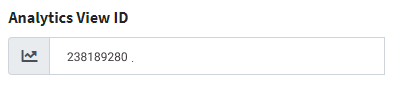
Copy VIEW ID
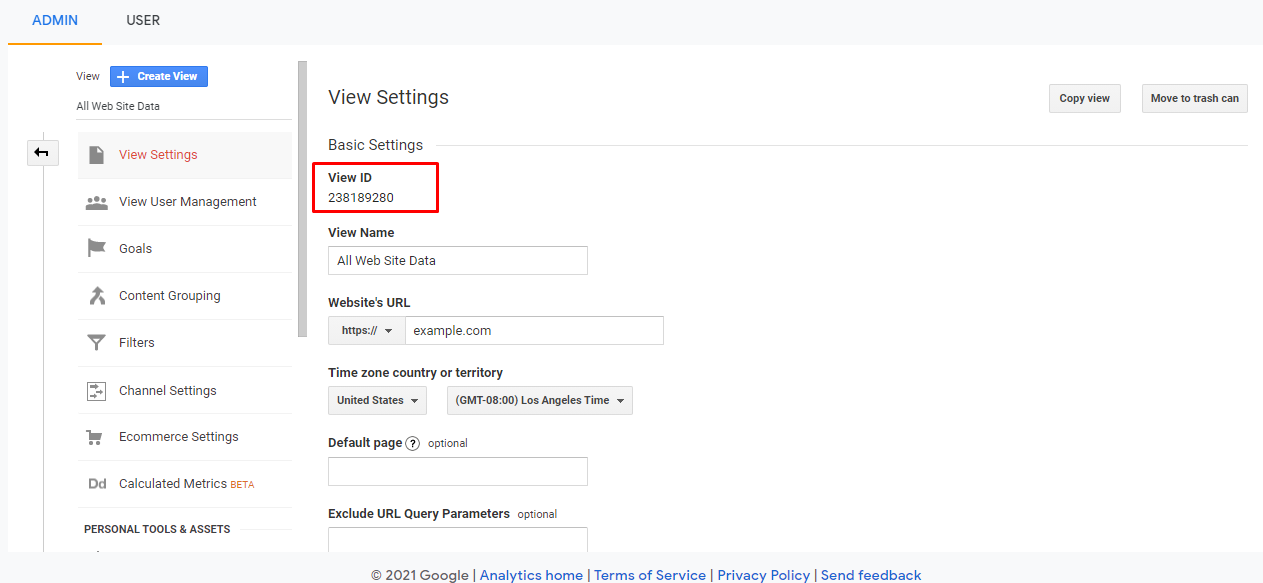
-
Enter the ANALYTICS_VIEW_ID value in the .env file
ANALYTICS_VIEW_ID=238189280
Or enter it in the Analytics View ID in the Settings menu
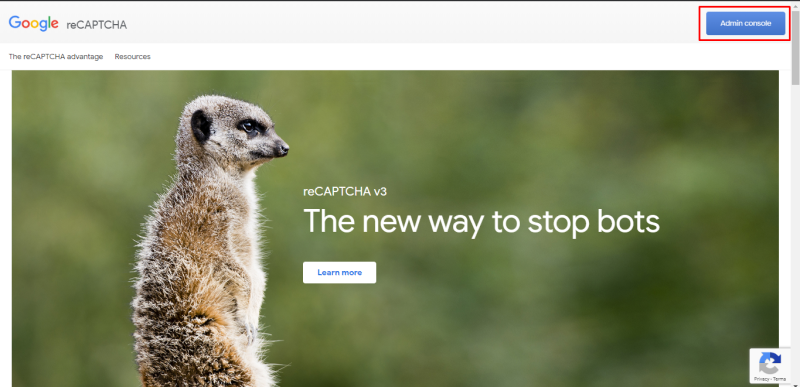
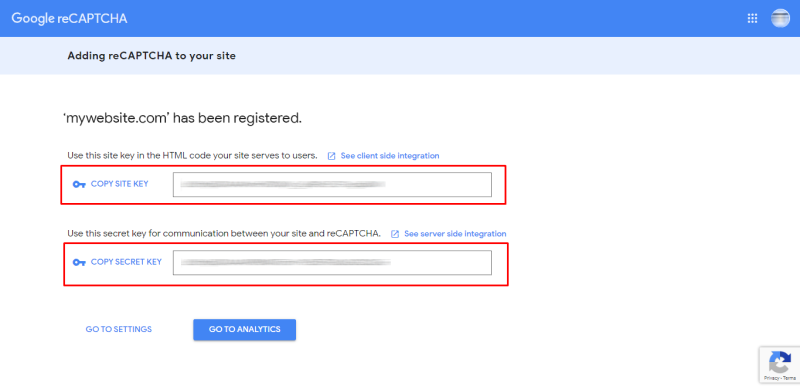
3.2. Google re-Captcha
Google re-Captcha
NOCAPTCHA_SITEKEY=
NOCAPTCHA_SECRET=
-
Go to https://www.google.com/recaptcha
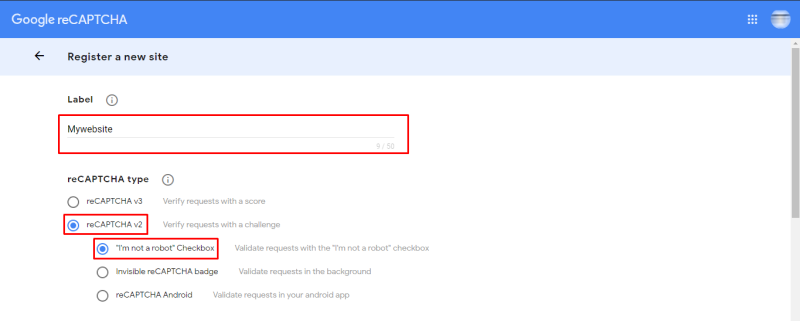
-
Type Label, click reCAPTCHA v2, click "I’m not a robot" Checkbox
-
Type domain, click "Accept the reCAPTCHA Terms of Service", click "SUBMIT"
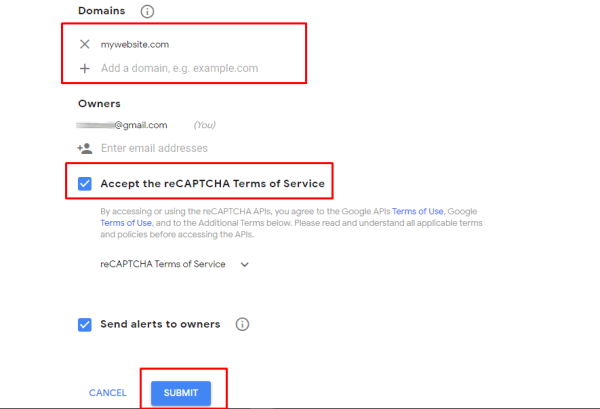
-
COPY SITE KEY to NOCAPTCHA_SITEKEY, COPY SECRET KEY to NOCAPTCHA_SECRET
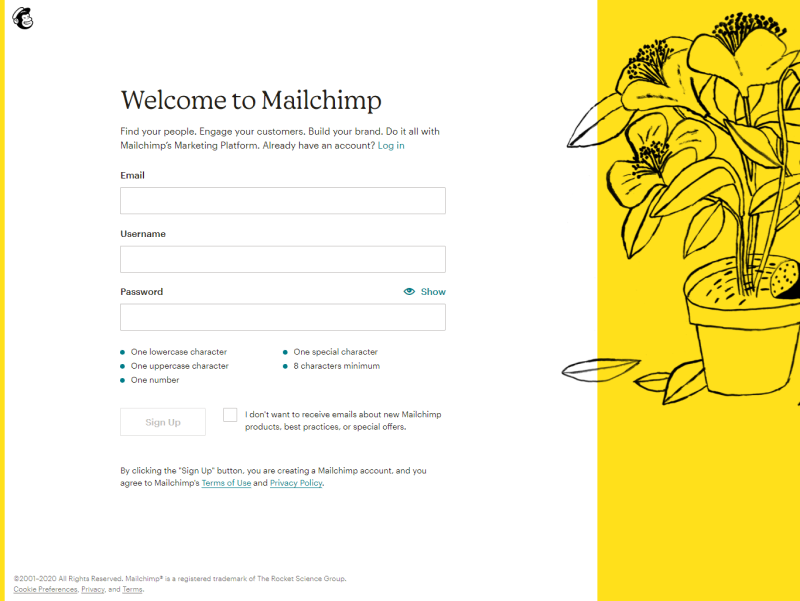
3.3. Mailchimp
-
Go to https://mailchimp.com/, click Sign Up Free

-
Fill in the sign up form
-
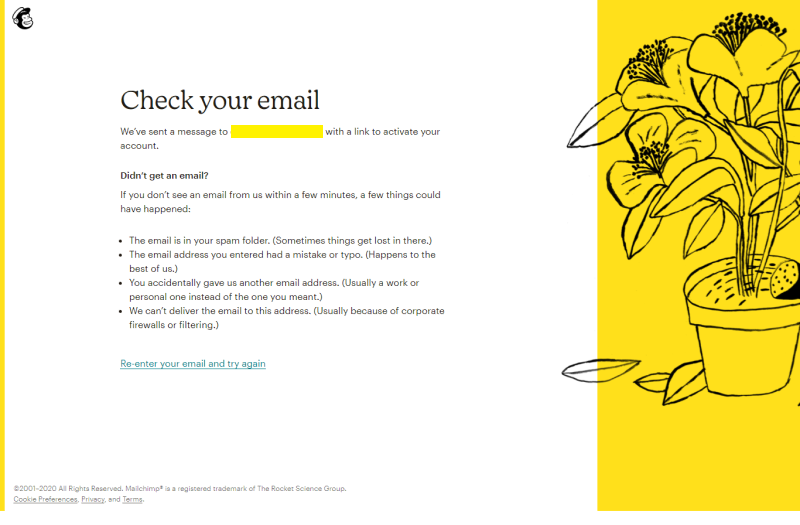
Check your E-mail
-
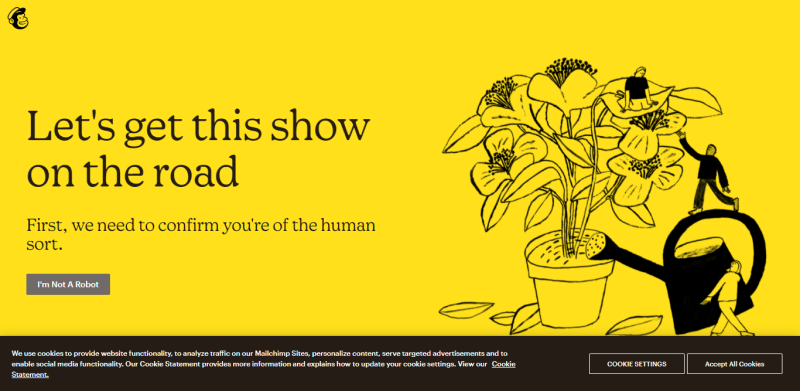
Click "I’m Not A Robot"
-
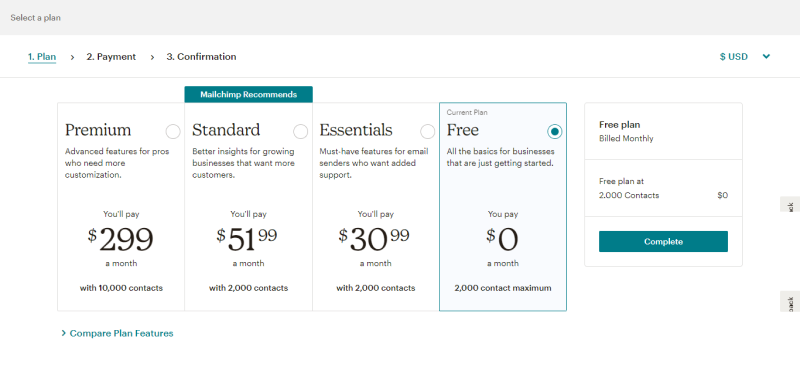
Select "Free" and click "Complete"
-
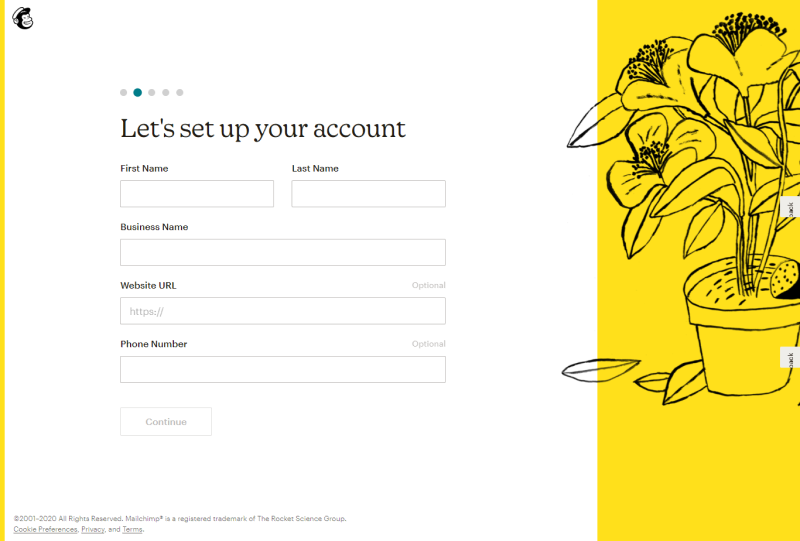
Fill in the form for your account
-
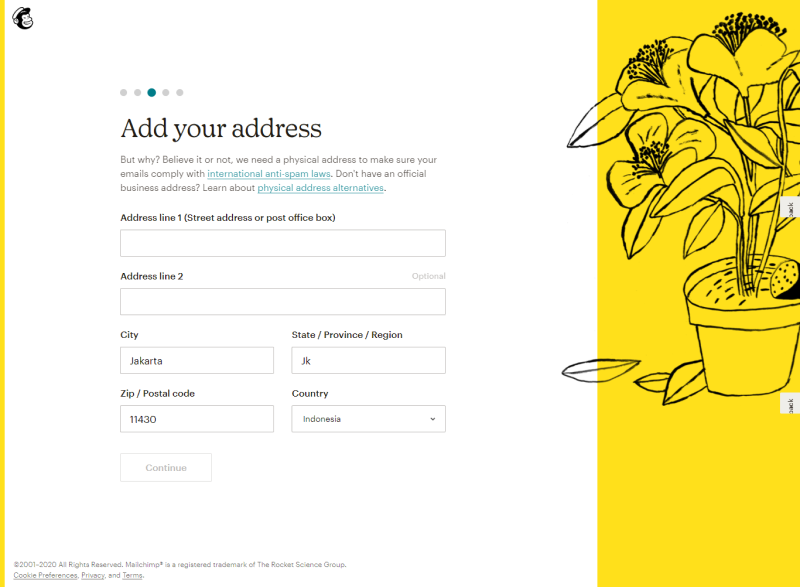
Add your physical address
-
Select yes or no on the question have contacts

-
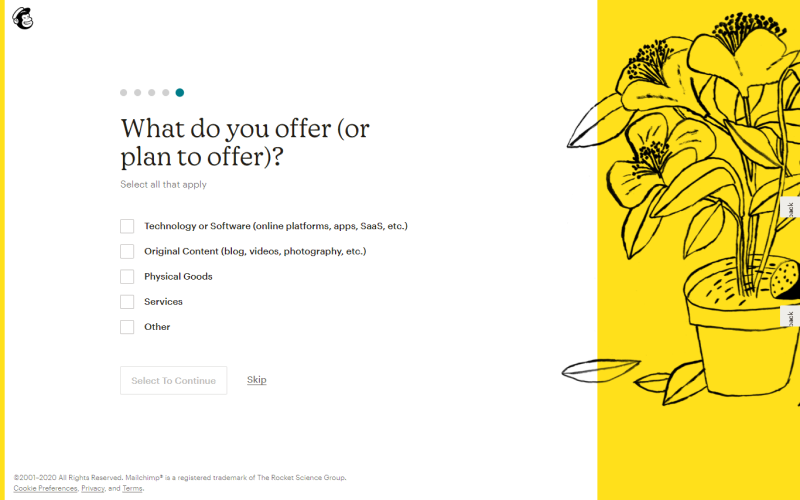
Select your offer
-
Click "Let’s Go!"
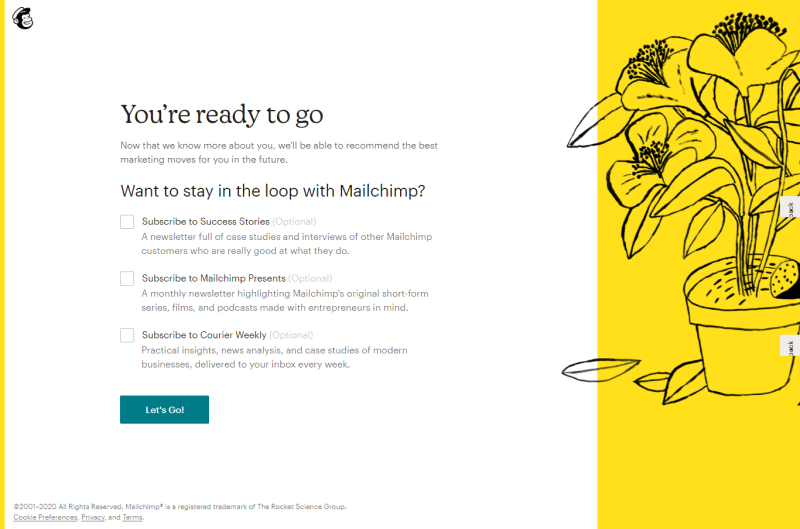
-
Finish
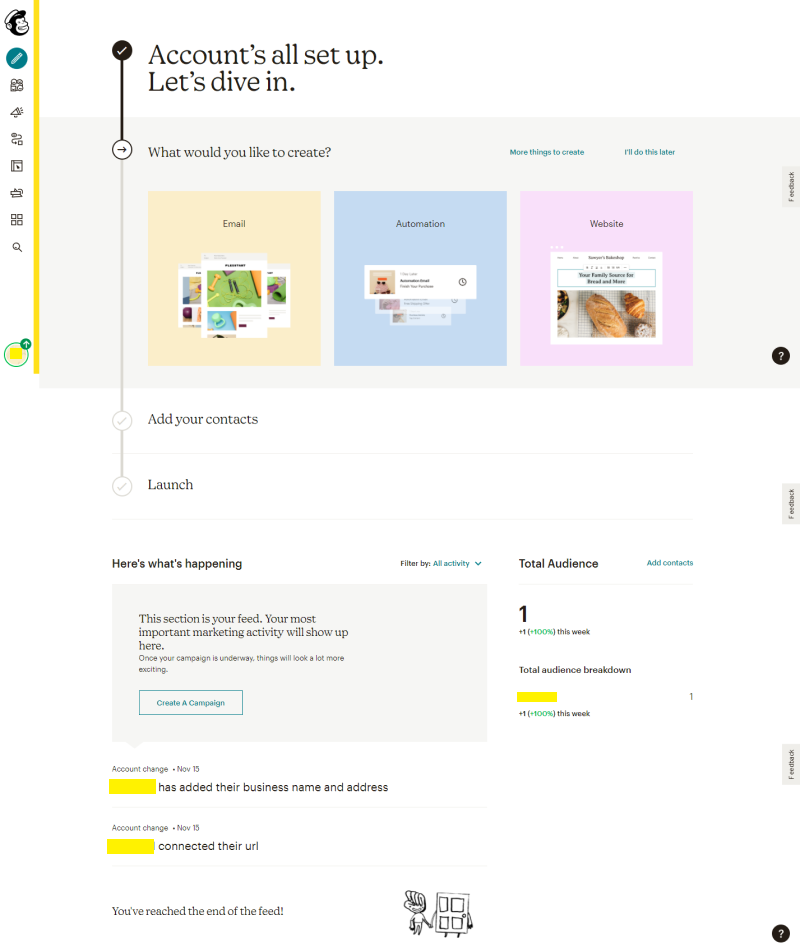
-
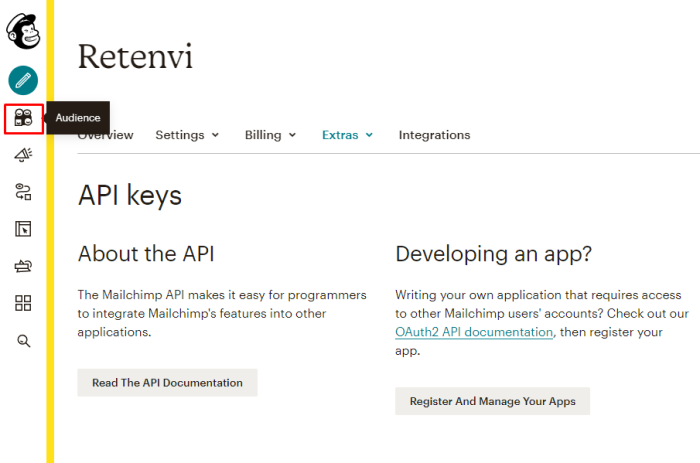
Click "Account"
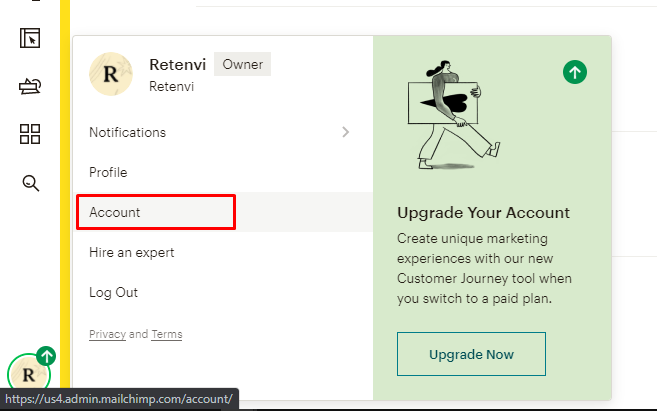
-
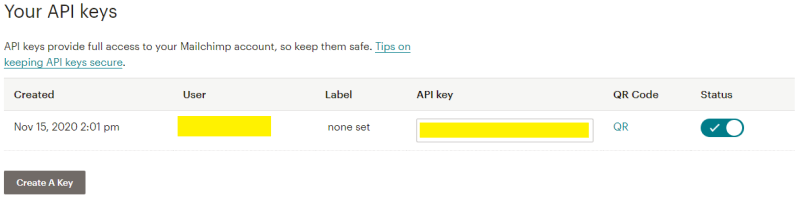
Click "Api keys"
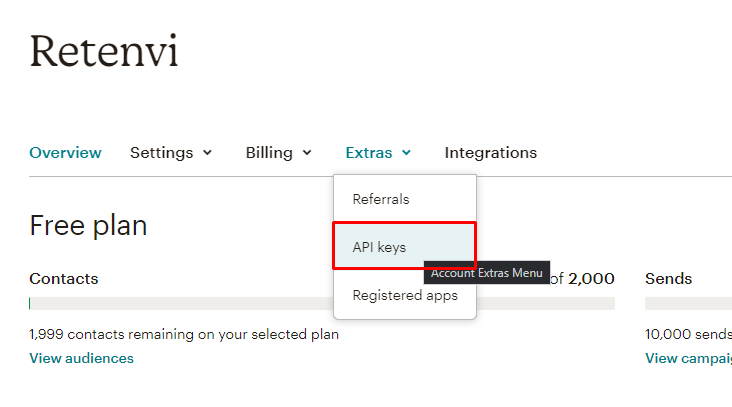
-
Click "Create a key"

-
Copy Api key to MAILCHIMP_APIKEY value
-
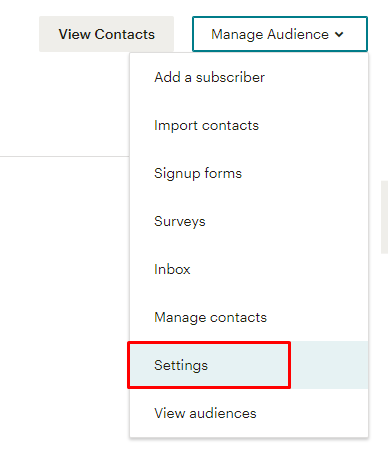
Select menu "Adience"
-
Select "Manage Audience", click "Settings"
-
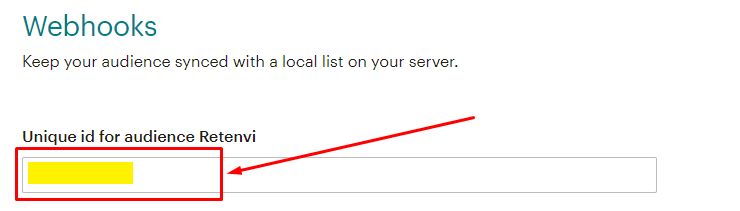
Copy Unique id to MAILCHIMP_LIST_ID value
4. Dashboard
4.1. Login
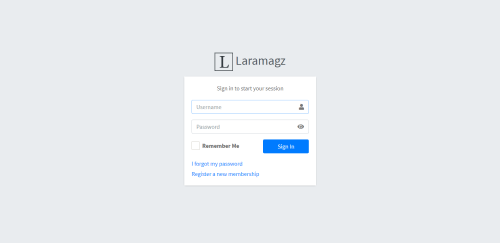
Superadmin
-
username/email: superadmin / <superadmin@example.com>
-
password: superadmin123
Admin
-
username/email: admin / <admin@example.com>
-
password: admin123
Member
-
username/email: member / <member@example.com>
-
password: member123
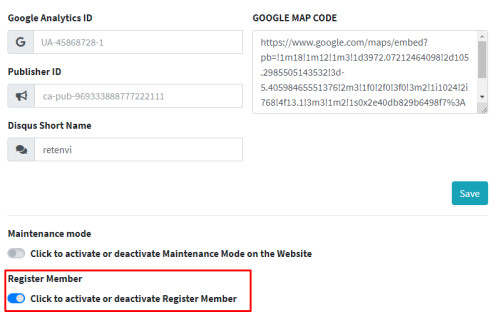
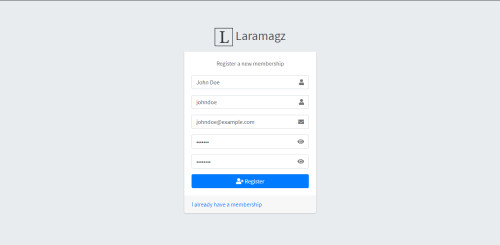
4.2. Register
The Register page is only available if activated by superadmin via the Settings menu.
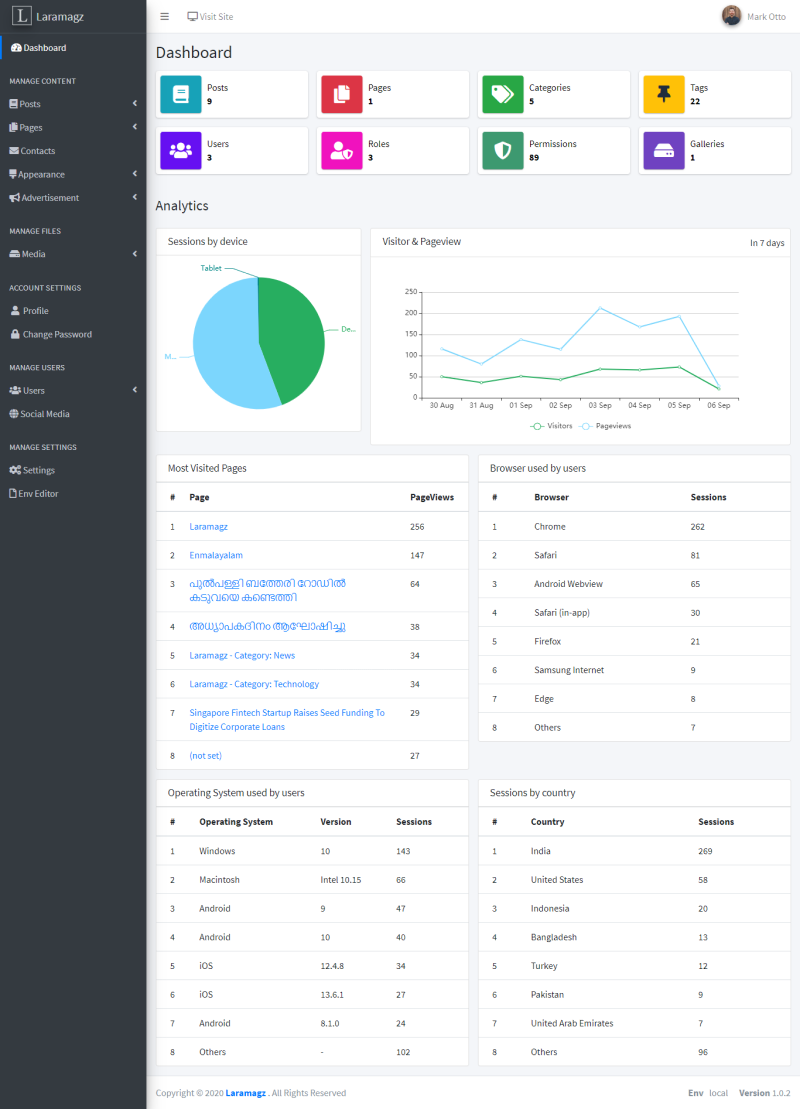
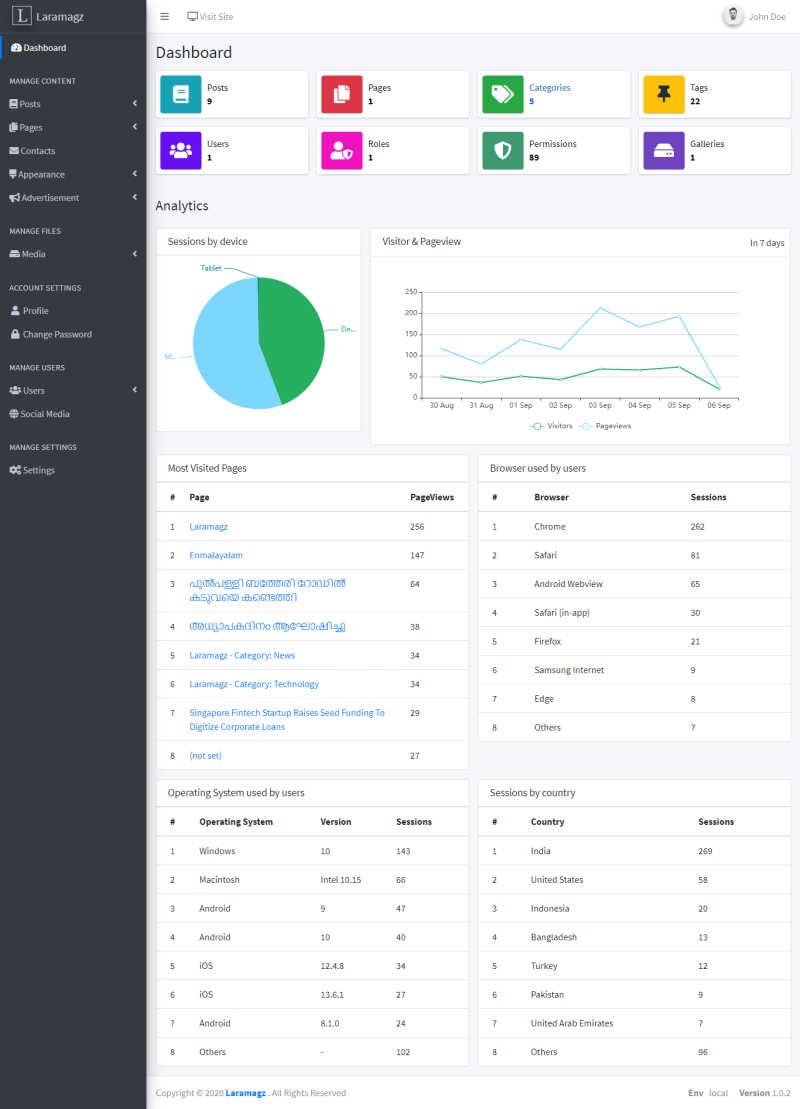
4.3. Dashboard - Superadmin
4.4. Dashboard - Admin
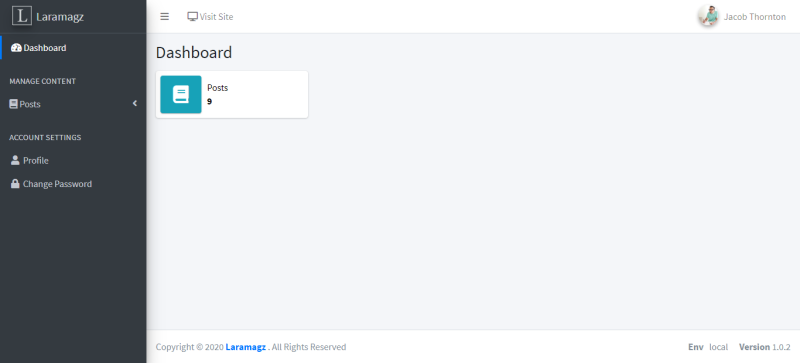
4.5. Dashboard - Member
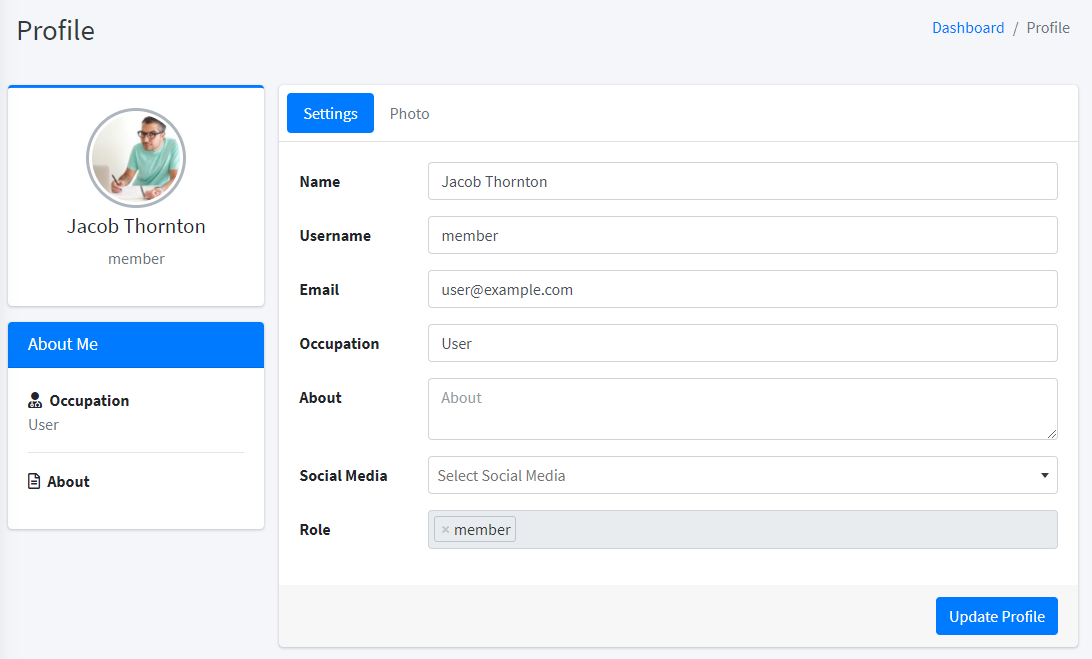
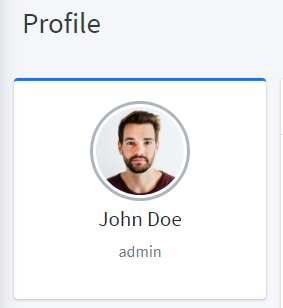
4.6. look at your profile page
5. Posts
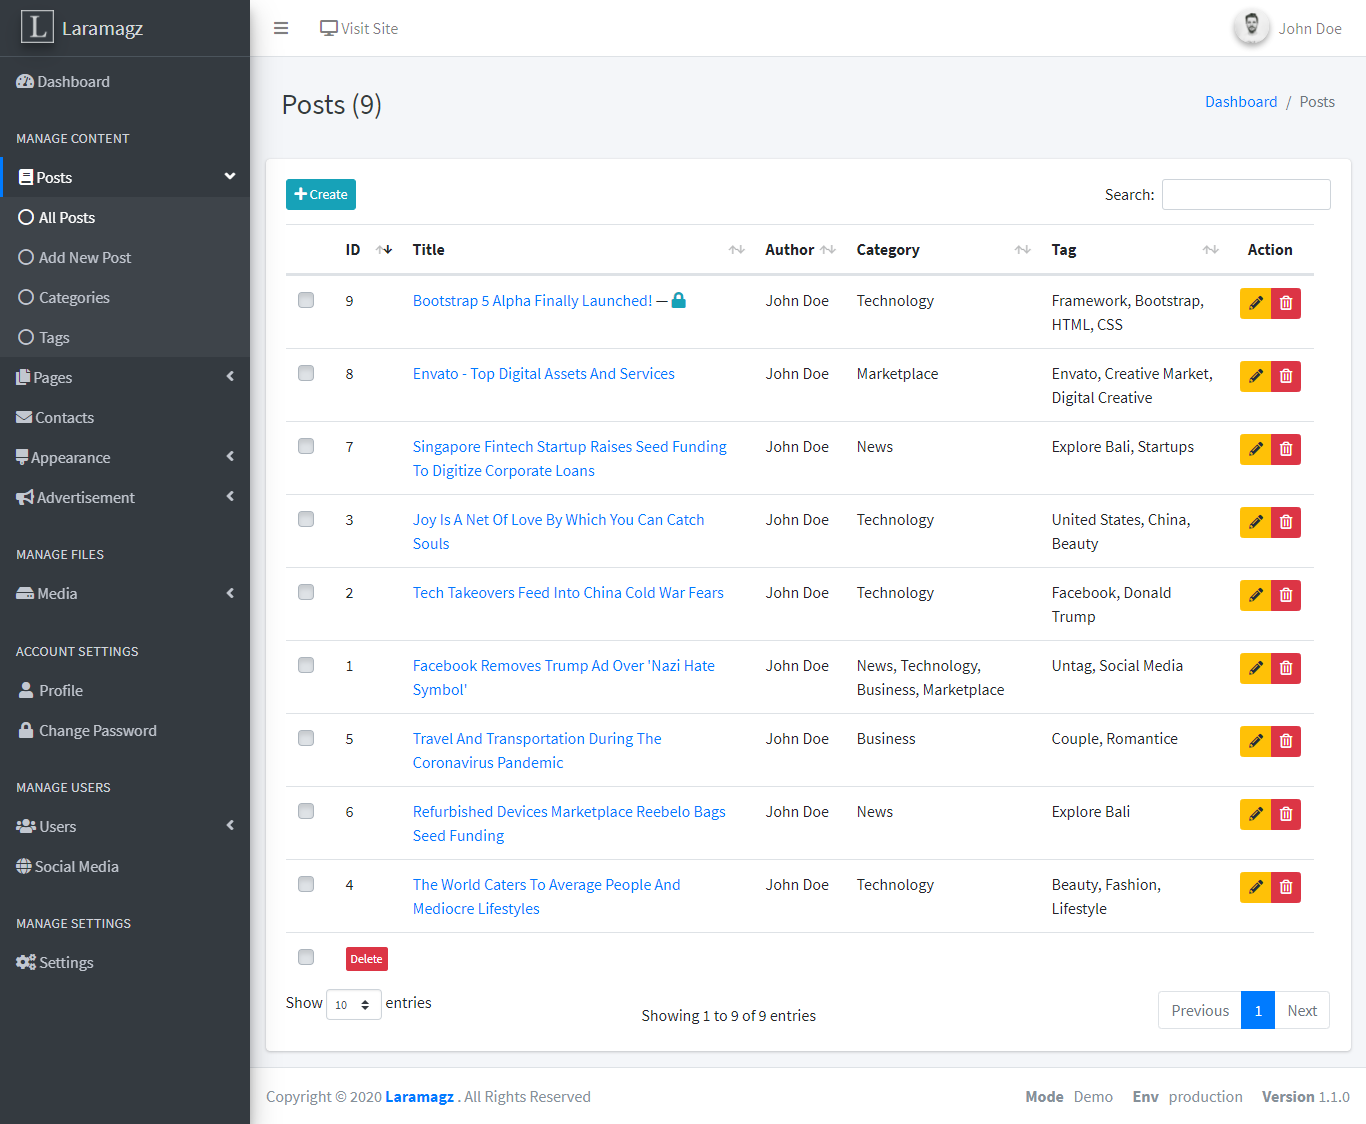
5.1. All Posts
5.2. Added a new post
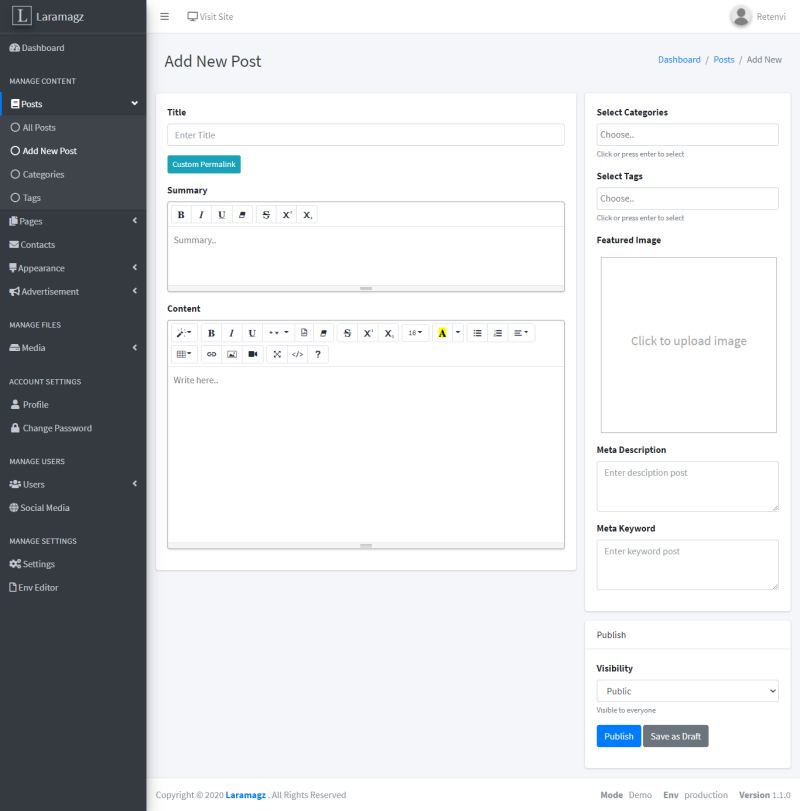
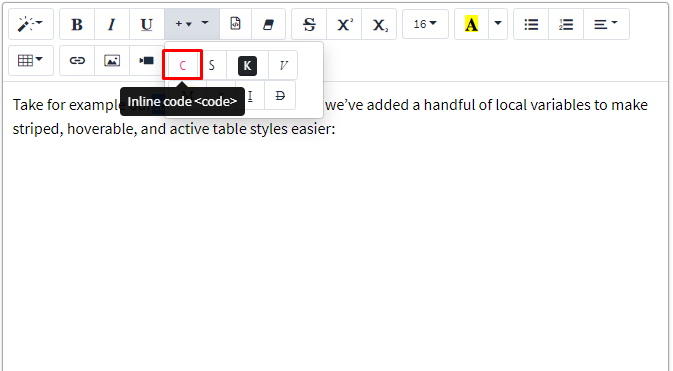
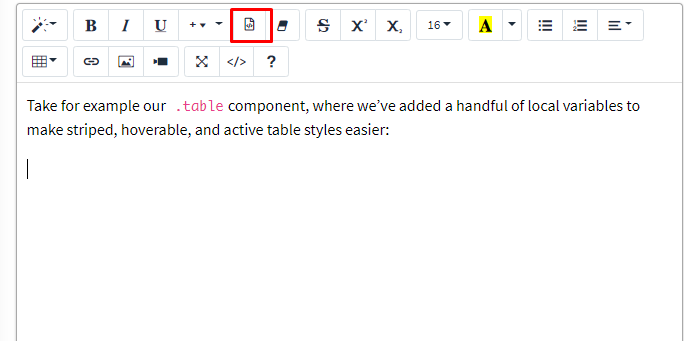
5.3. Inline Code
Select text
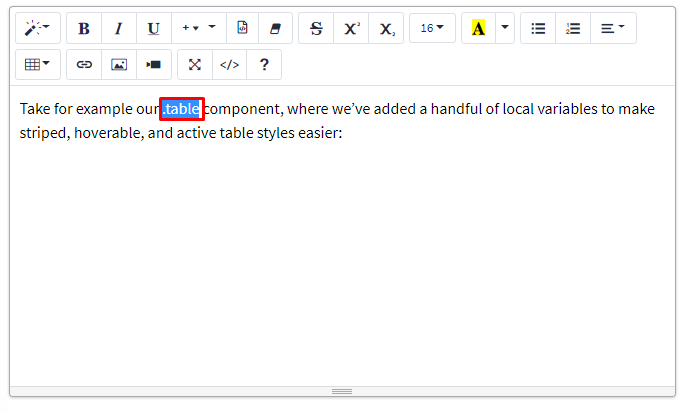
Click "C" Inline code <code> at Additional text styles.
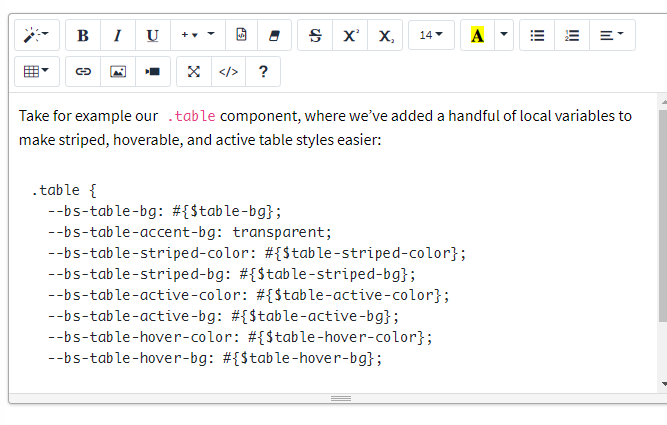
5.4. Block Code
Click highlight menu.
Select "Select language" and enter your code.
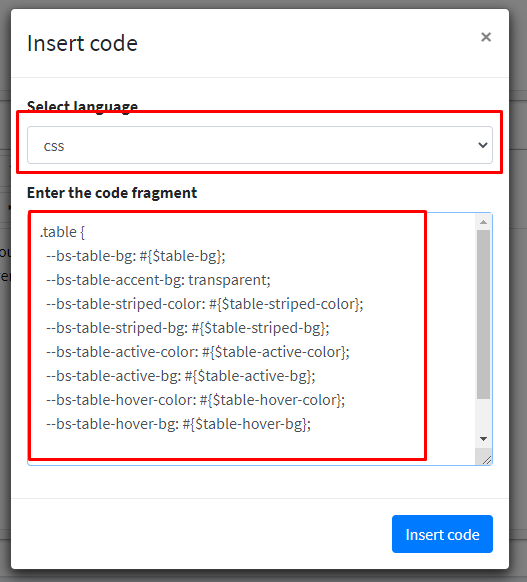
Result
5.5. Edit Post

6. Pages
6.1. All Pages

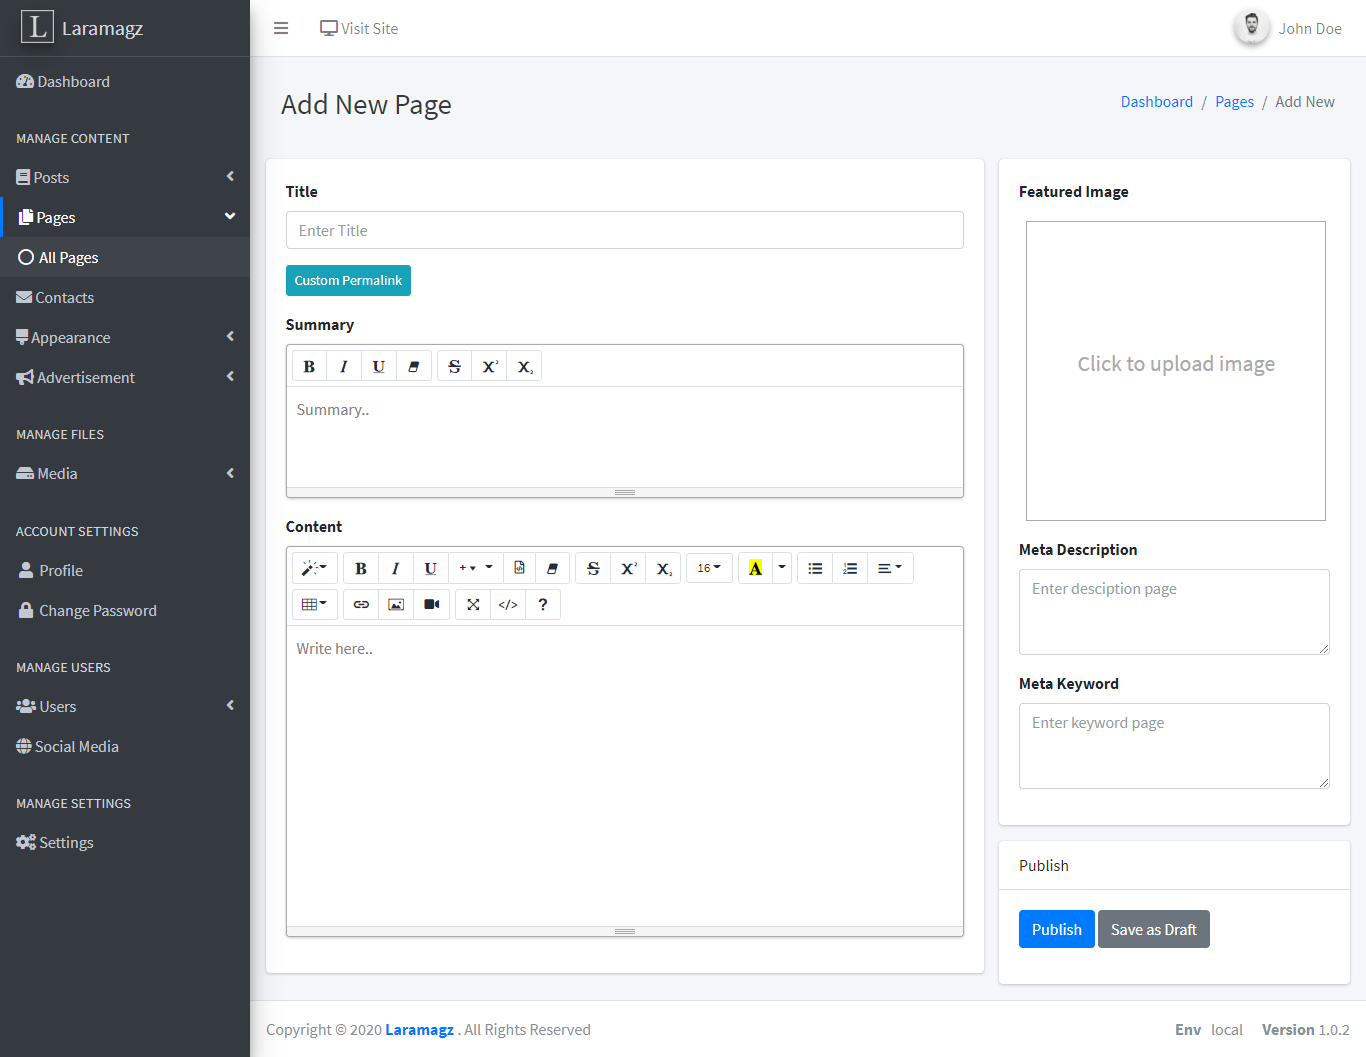
6.2. Added a new page
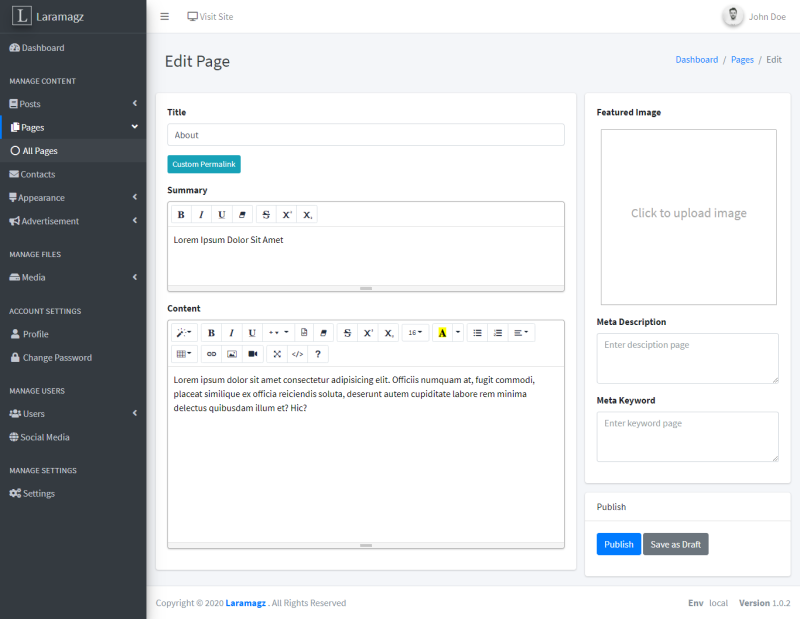
6.3. Edit Page
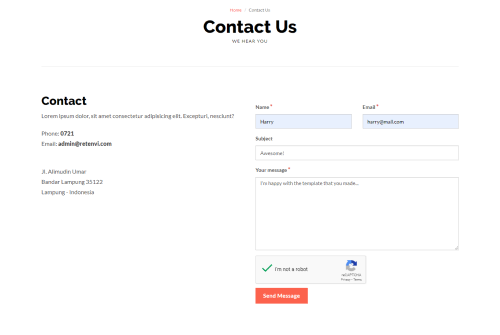
7. Contact
7.1. Contact Page
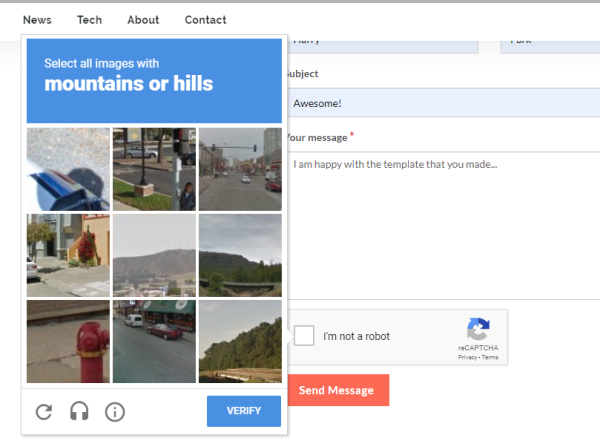
7.2. Captcha
Config .env
NOCAPTCHA_SITEKEY=
NOCAPTCHA_SECRET=

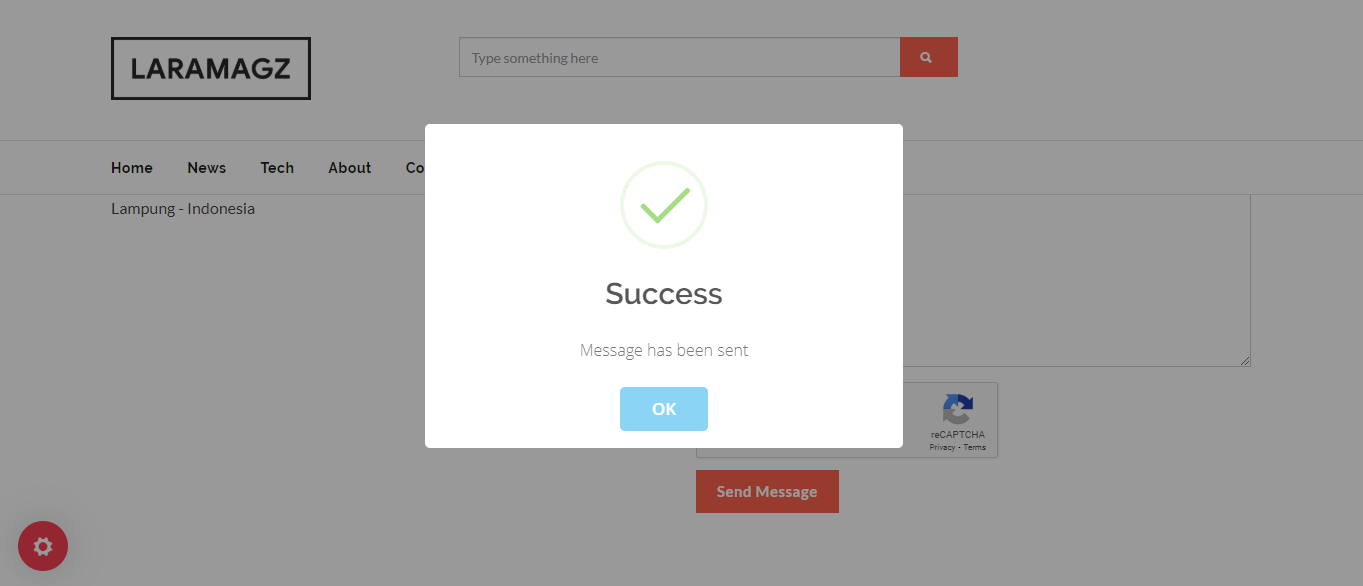
Message successfully sent
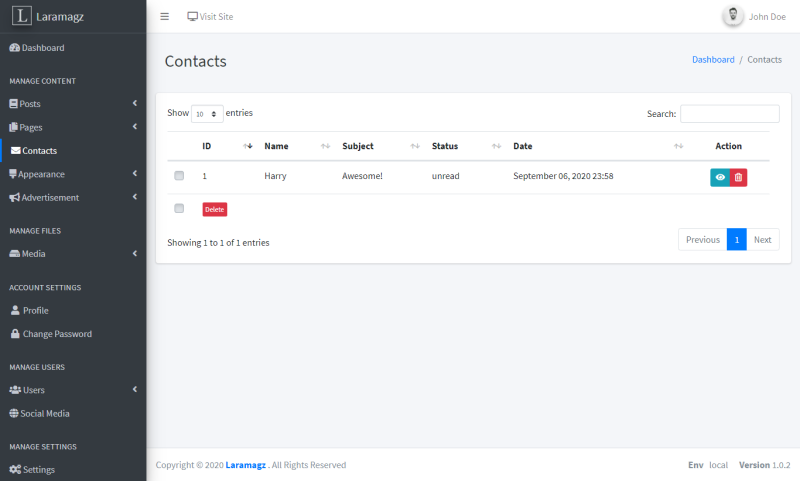
7.3. All Messages
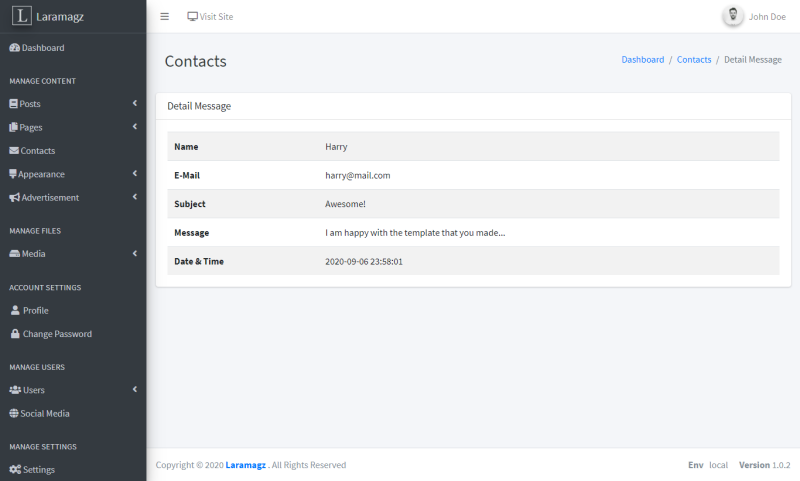
7.4. Message details
8. Menu
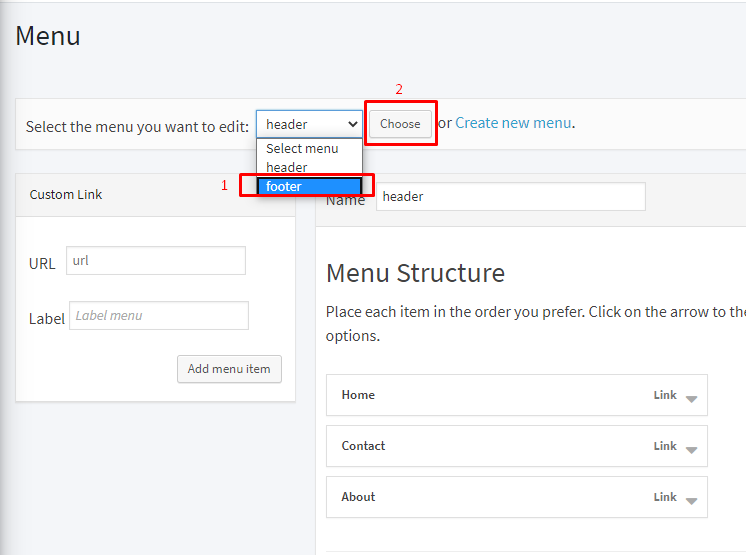
8.1. Select Menu
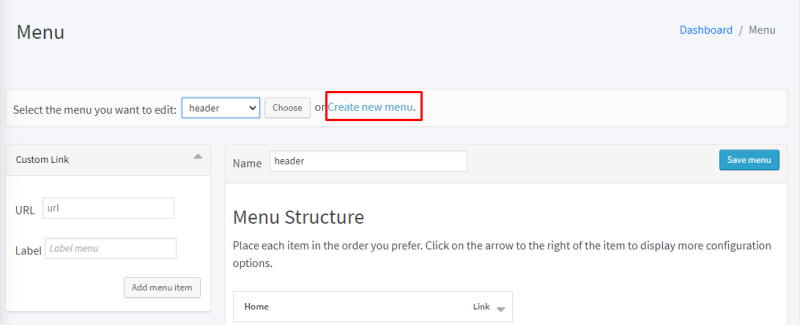
8.2. Create Menu

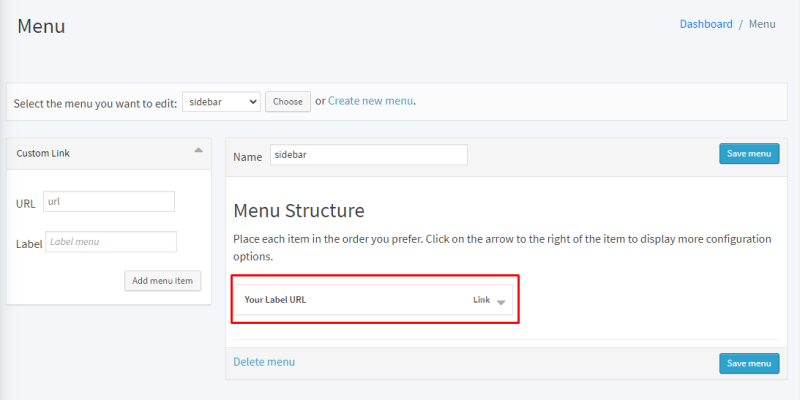
8.3. Create Item menu

8.4. Result Item menu
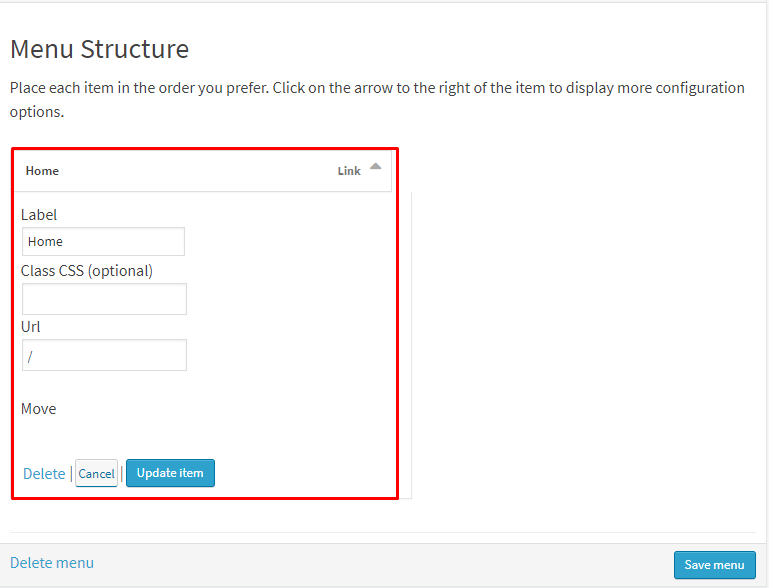
8.5. Modify the menu
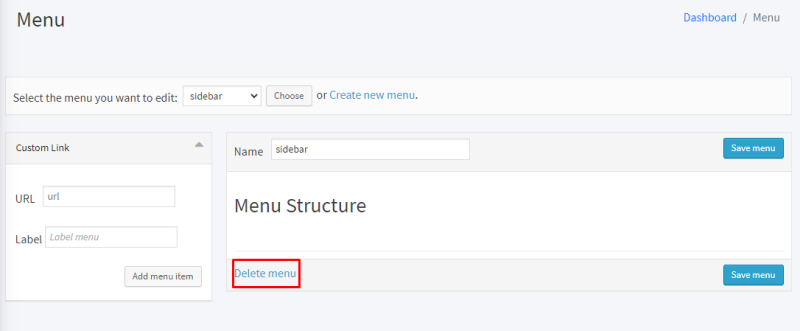
8.6. Remove menu
Before deleting a menu, delete all the menu items in that menu.
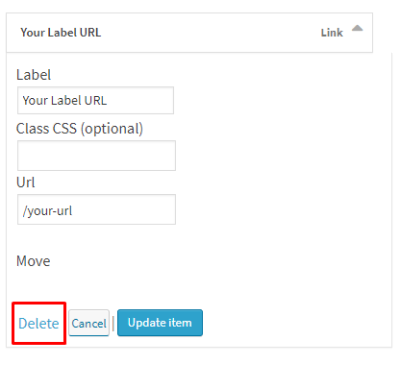
Then delete the menu.
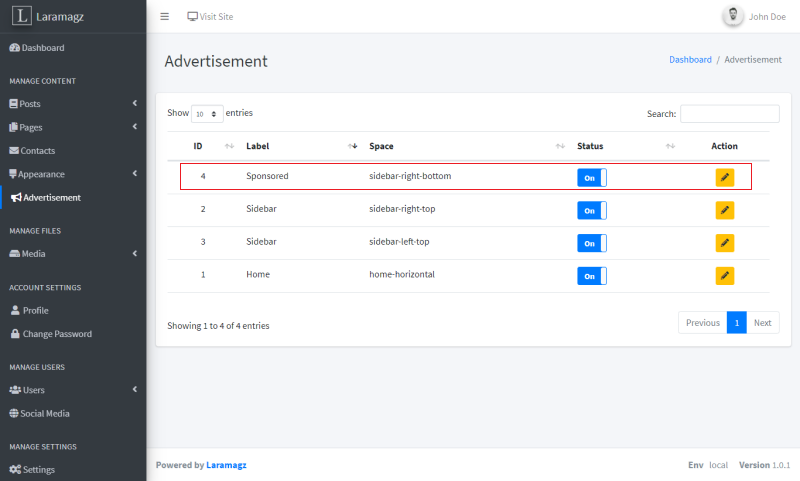
9. Advertisement

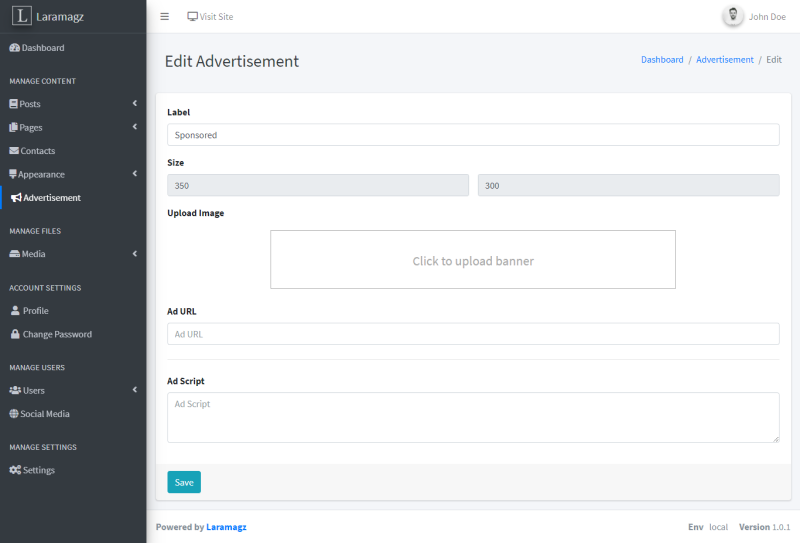
9.1. Google Adsense Ad Code

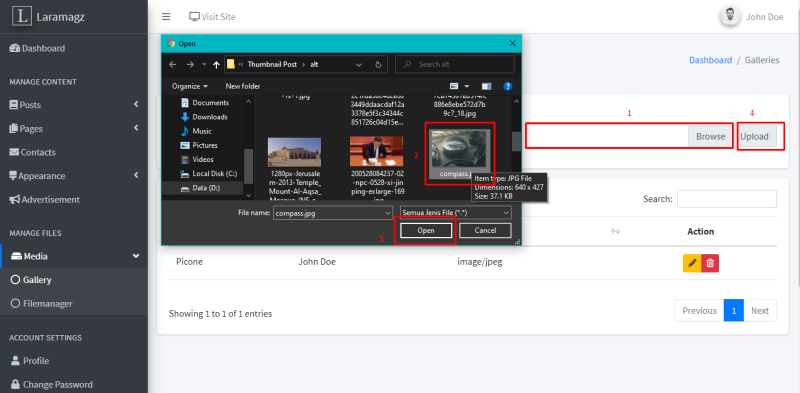
10. Gallery
10.1. Add Gallery
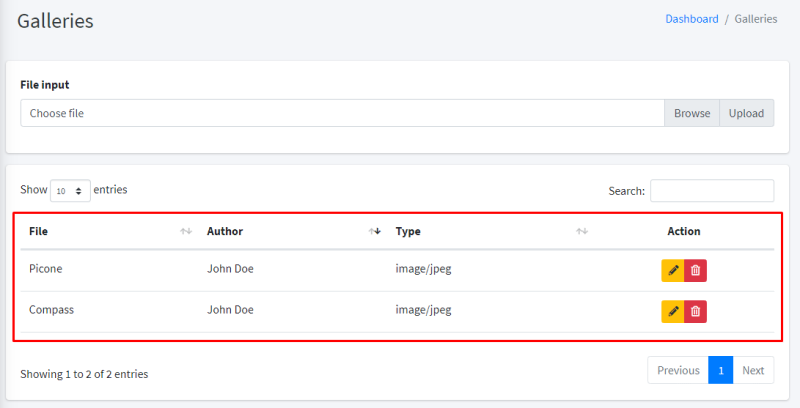
10.2. Result Upload Gallery
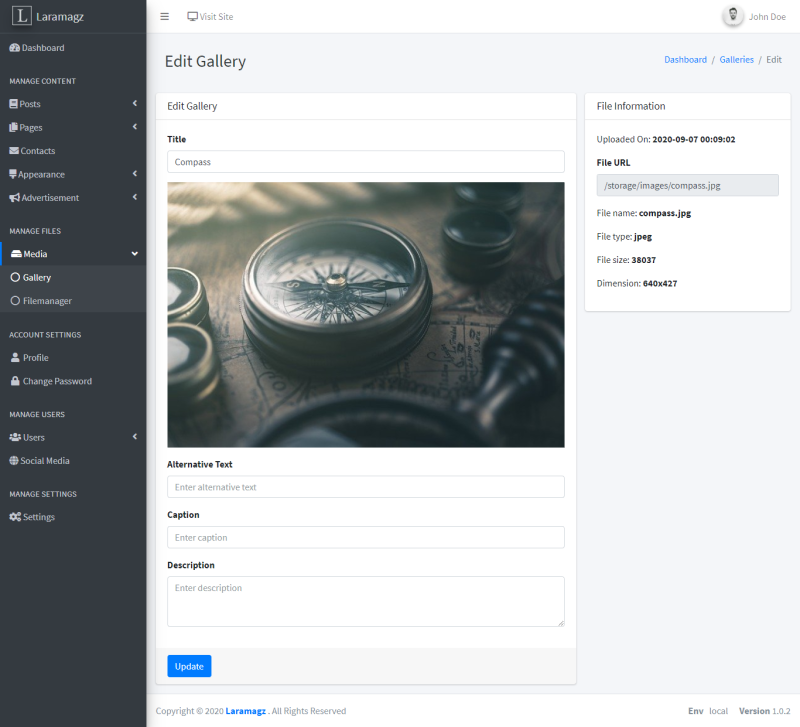
10.3. Edit Gallery
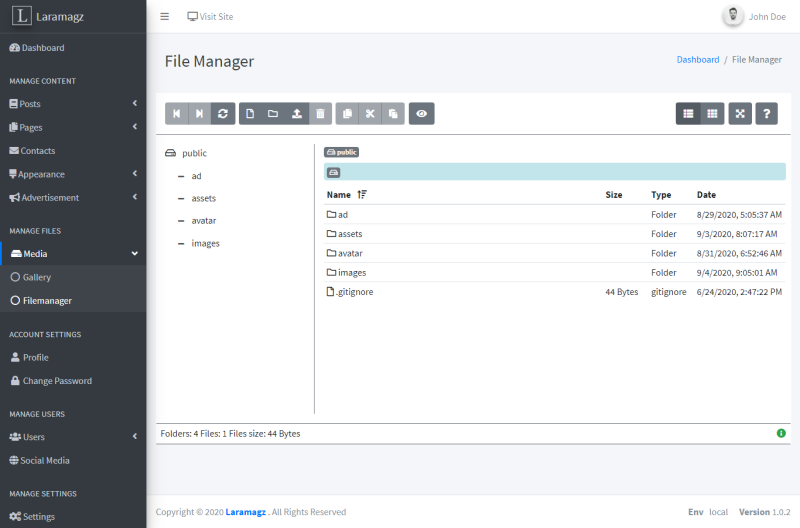
11. Filemanager
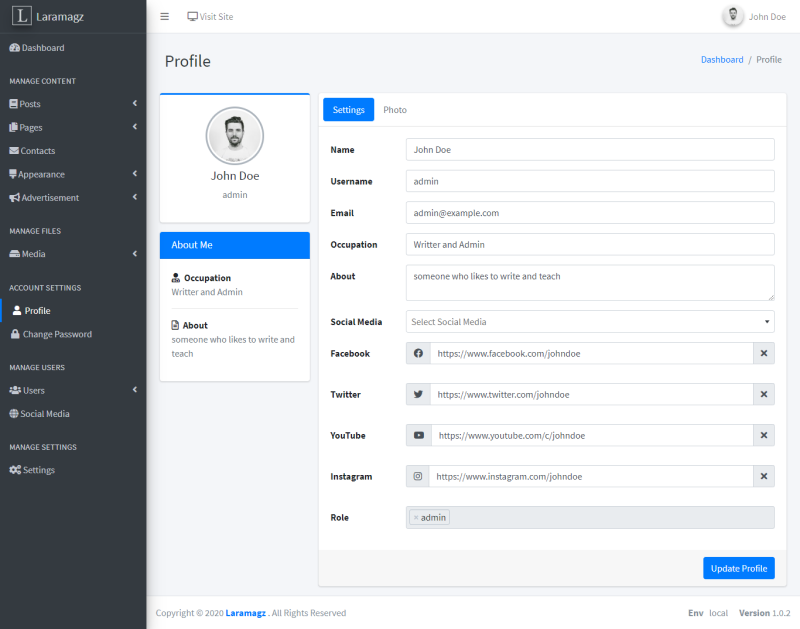
12. Profile
12.1. Setting Information
12.2. Setting Photo Avatar
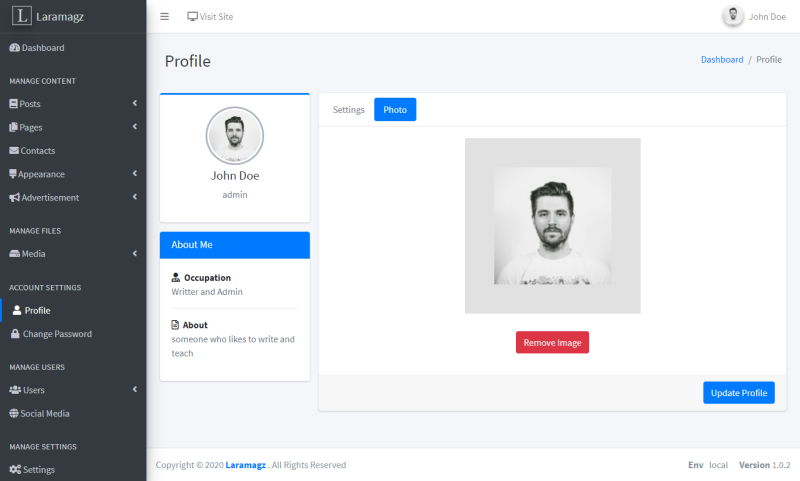
12.3. Uploading user photo files
12.4. Change user photo/Avatar
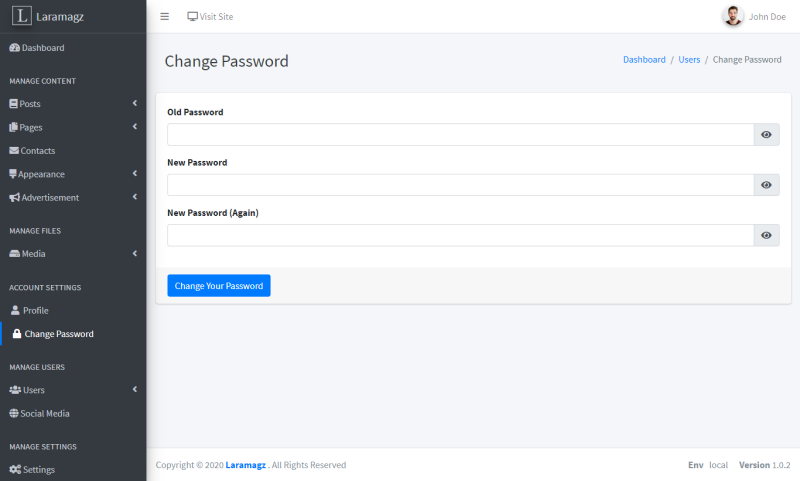
12.5. Change user password
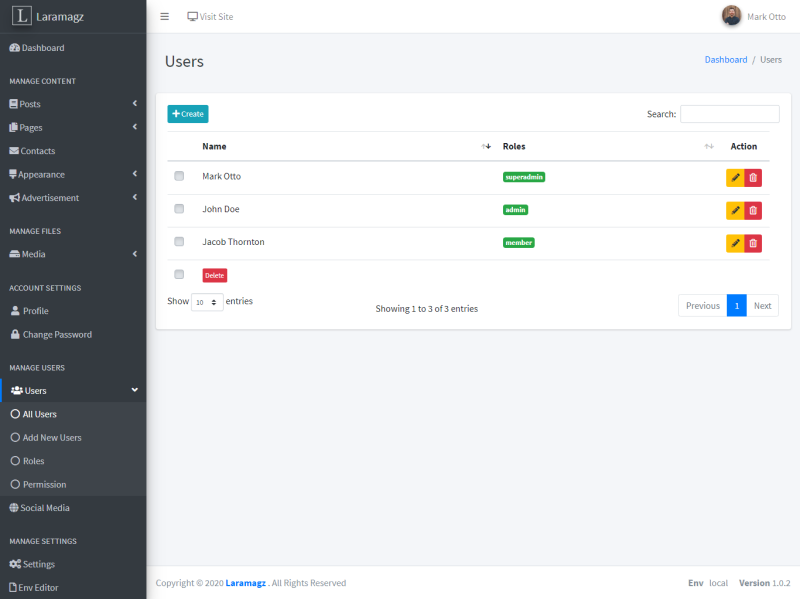
13. Users
13.1. All Users
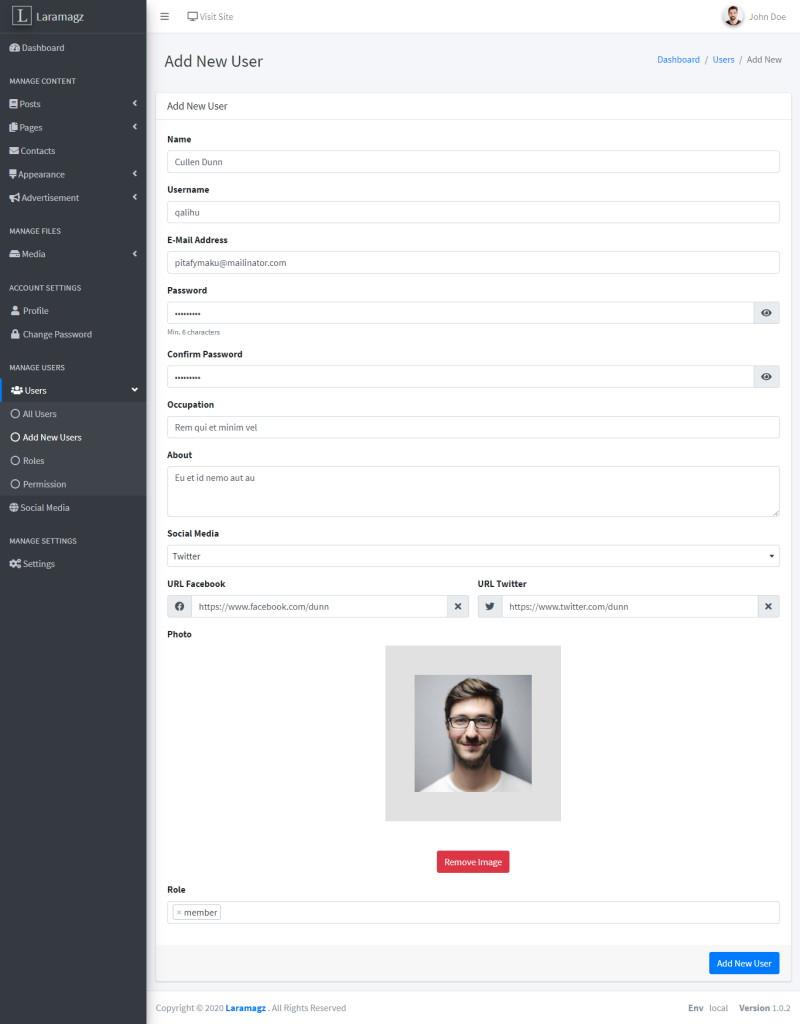
13.2. Add New User
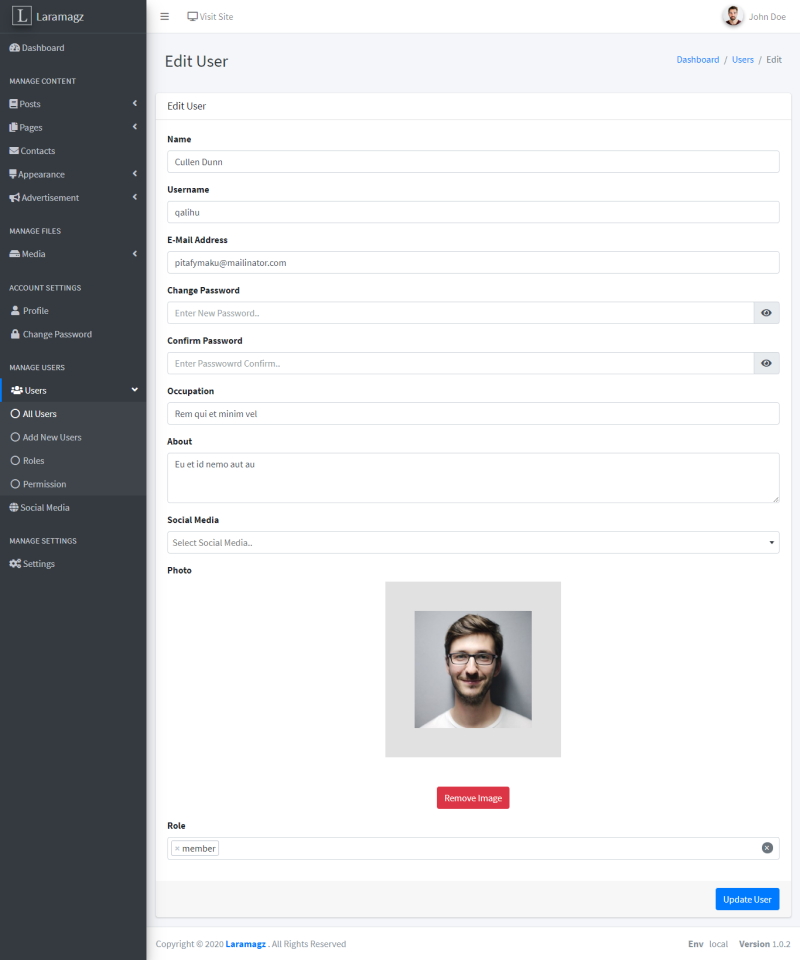
13.3. Edit User
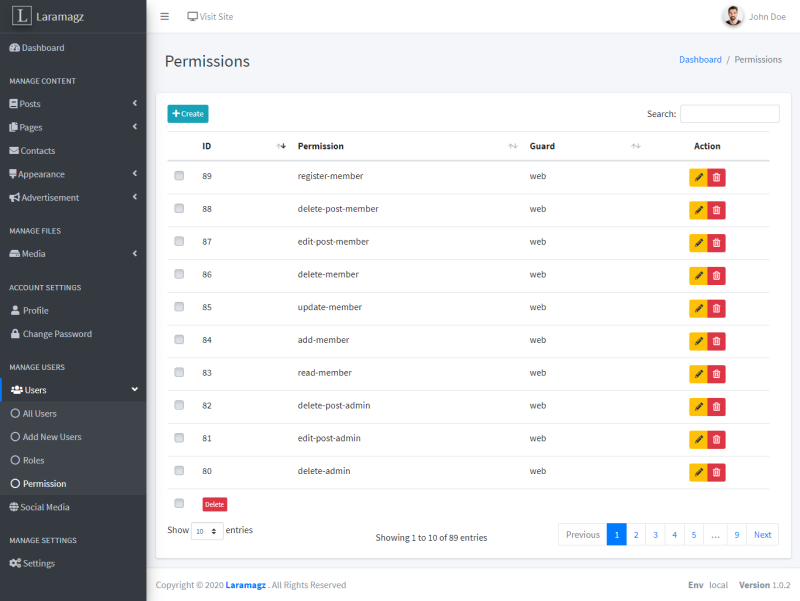
13.4. All Permissions
13.5. Added a new permission

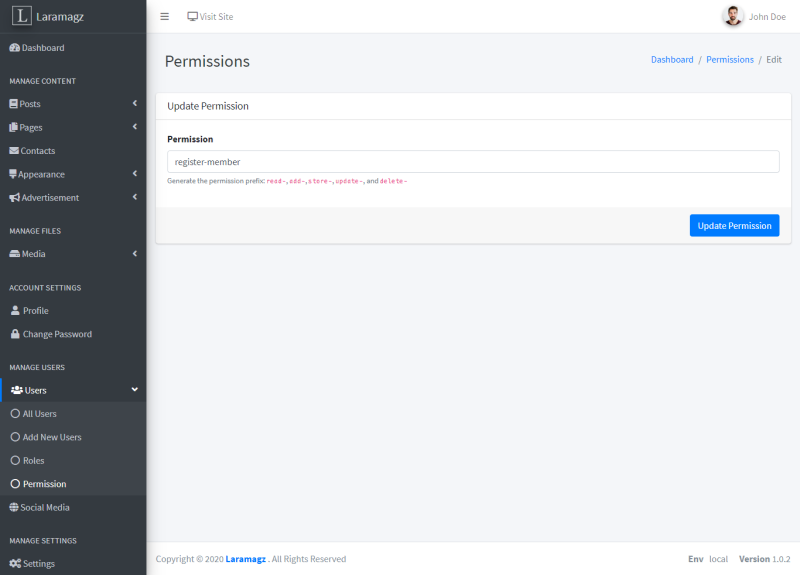
13.6. Edit Permission
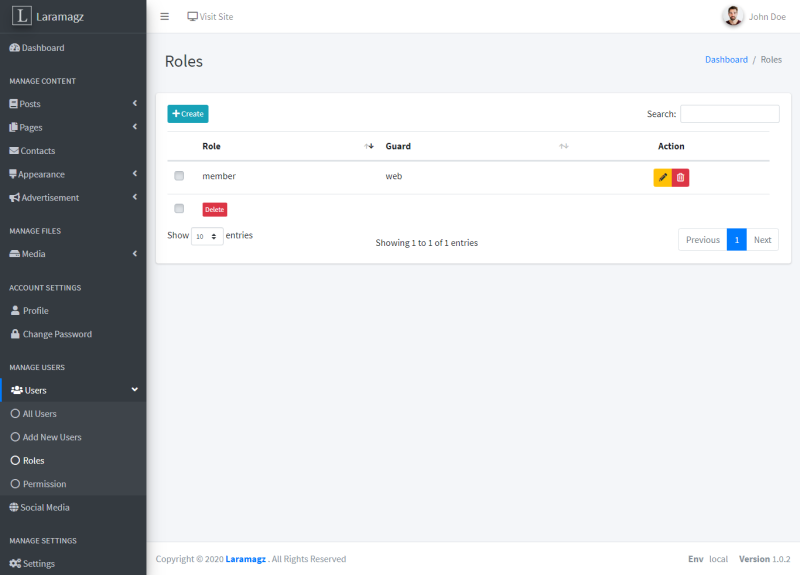
13.7. All Roles
13.8. Added a new role

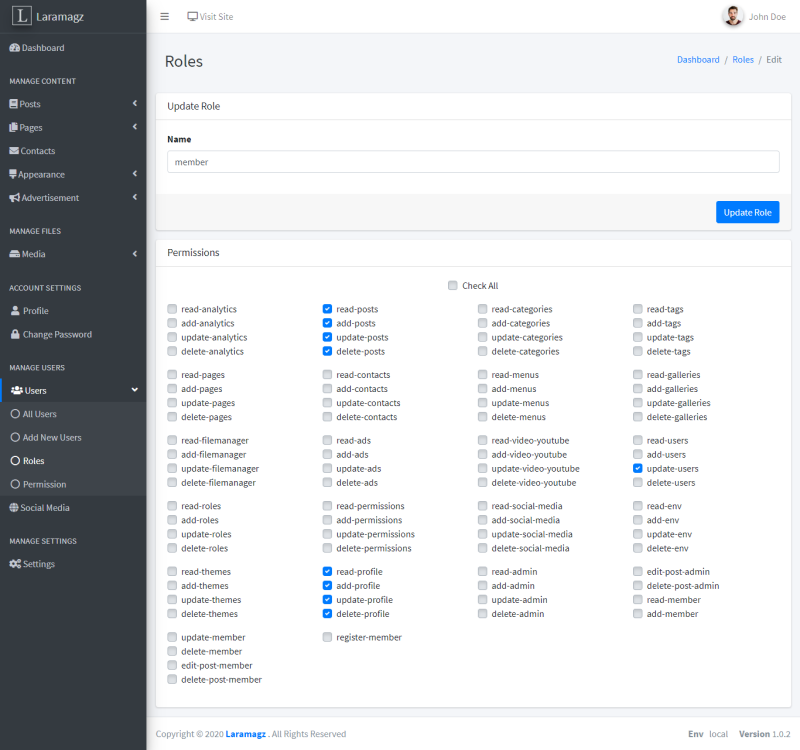
13.9. Edit Role
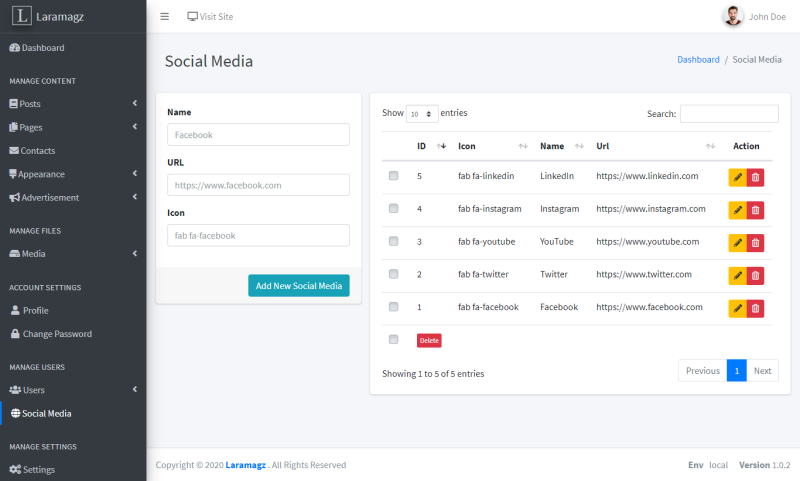
13.10. All Social Media
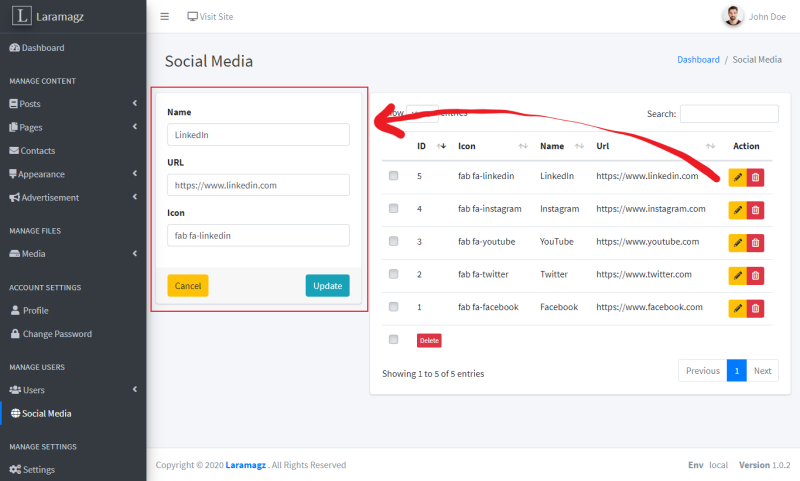
13.11. Edit Social Media
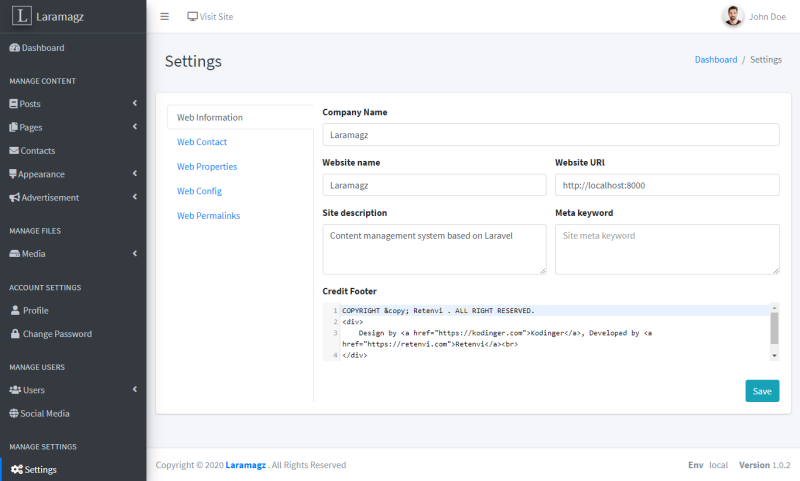
14. Settings
14.1. Web Informations
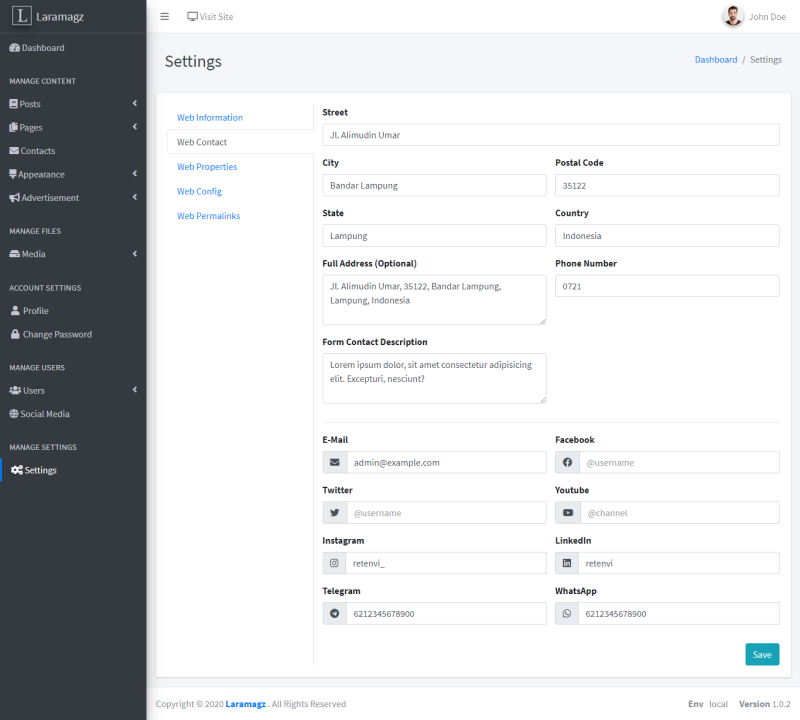
14.2. Web Contact
14.3. Web Properties

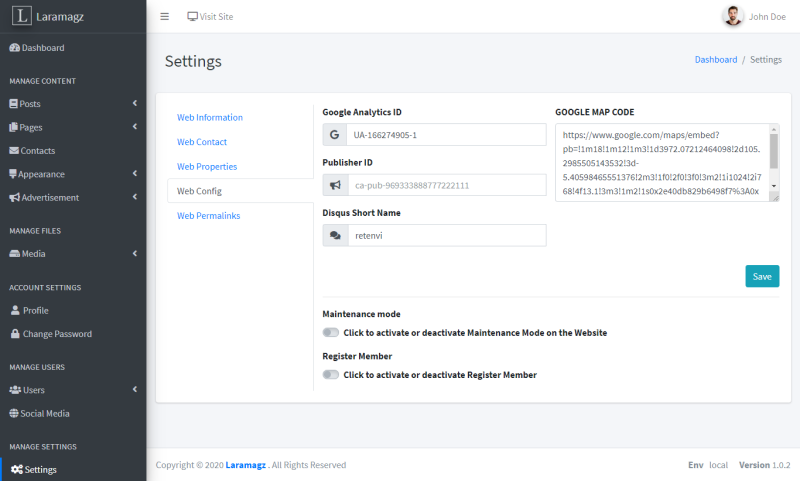
14.4. Web Config
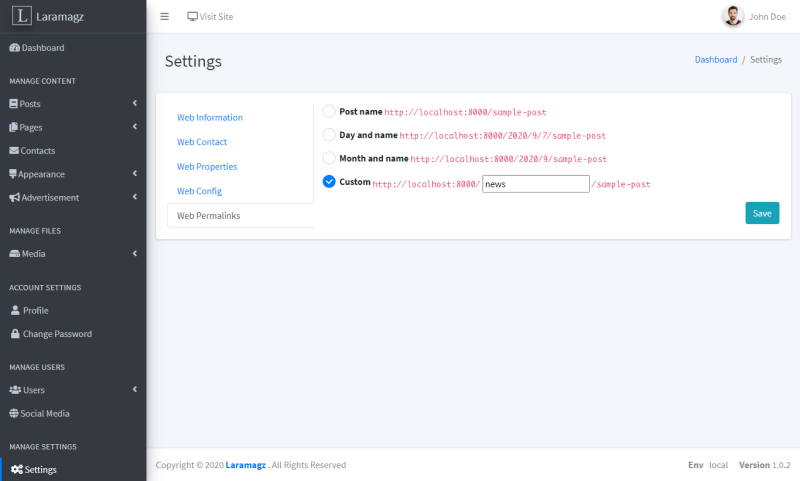
14.5. Web Permalinks
14.6. Maintenance Mode
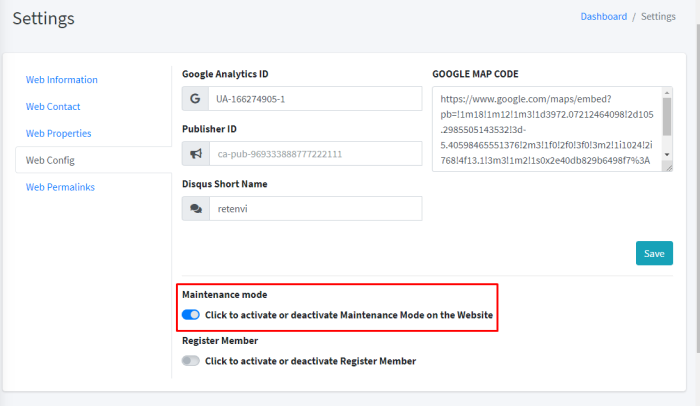
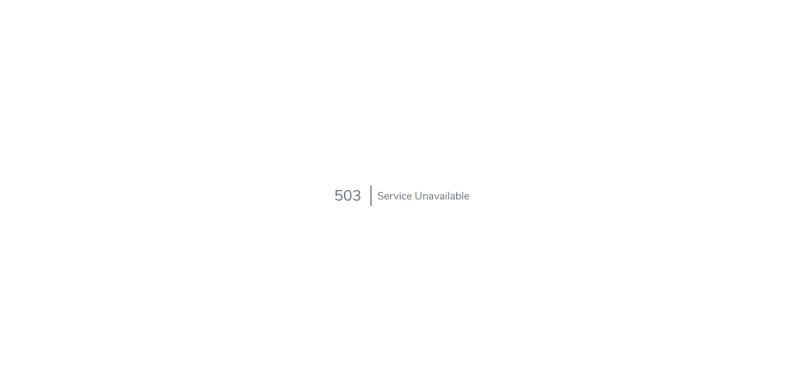
Display the page when in Maintenance mode
15. Env Editor
The Env Editor menu only appears for users as superadmins
15.1. overview
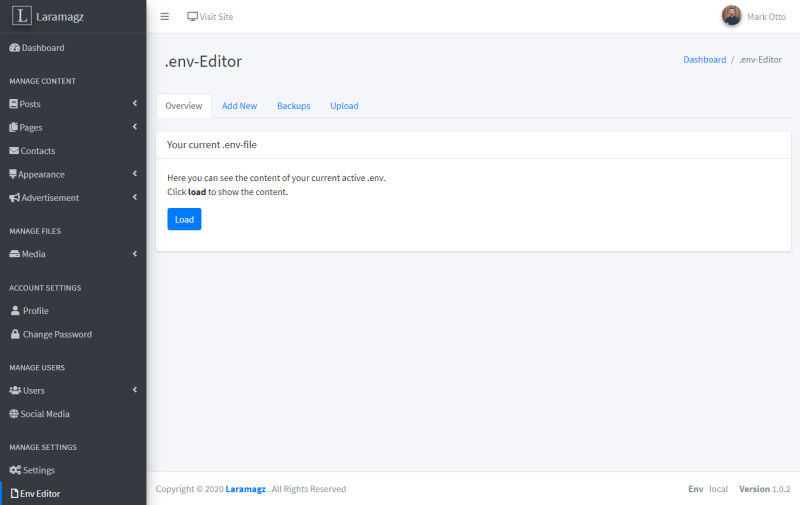
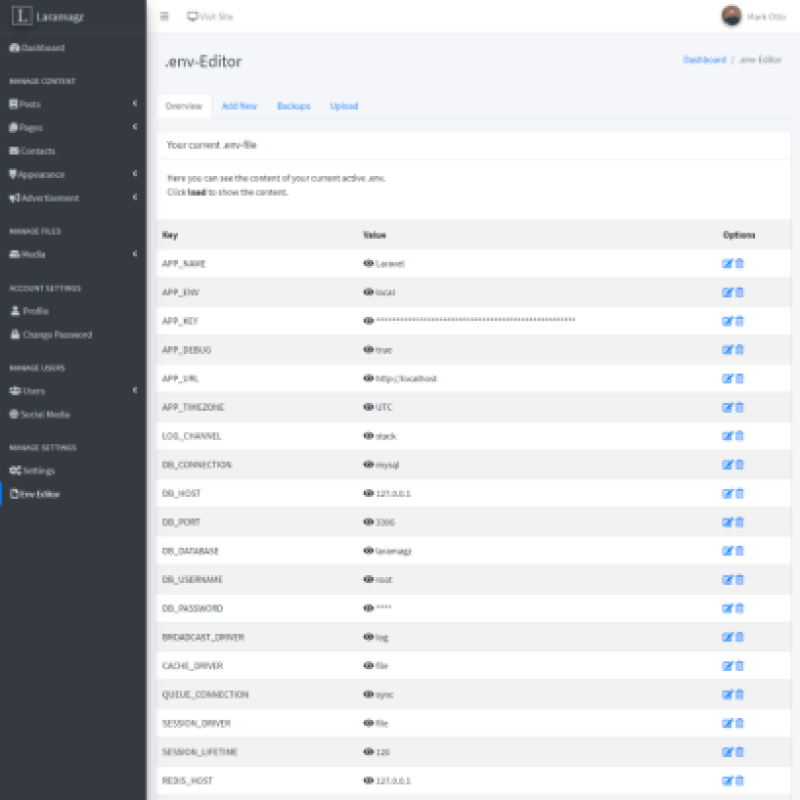
15.2. Show .env file
Click Load to display .env
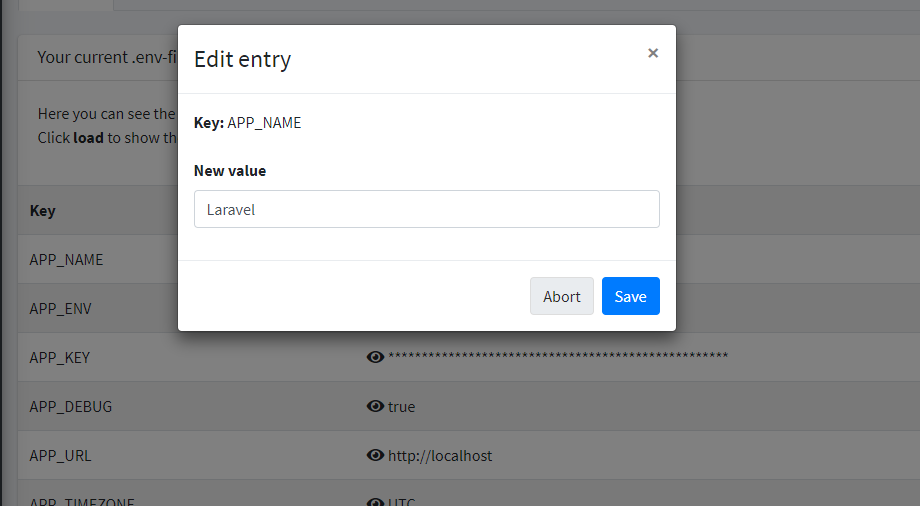
15.3. Edit Value
Click the settings icon to edit the .env key value
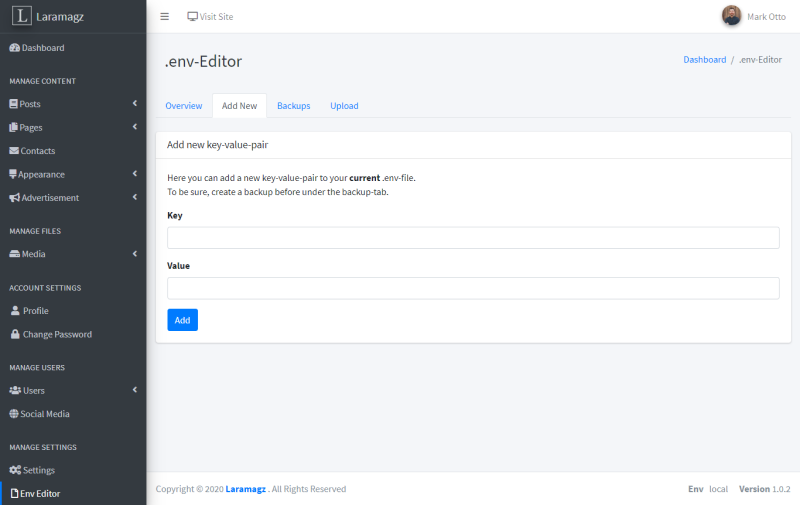
15.4. Add New
Enter Key and Value to add to the .env Configuration
15.5. Backups
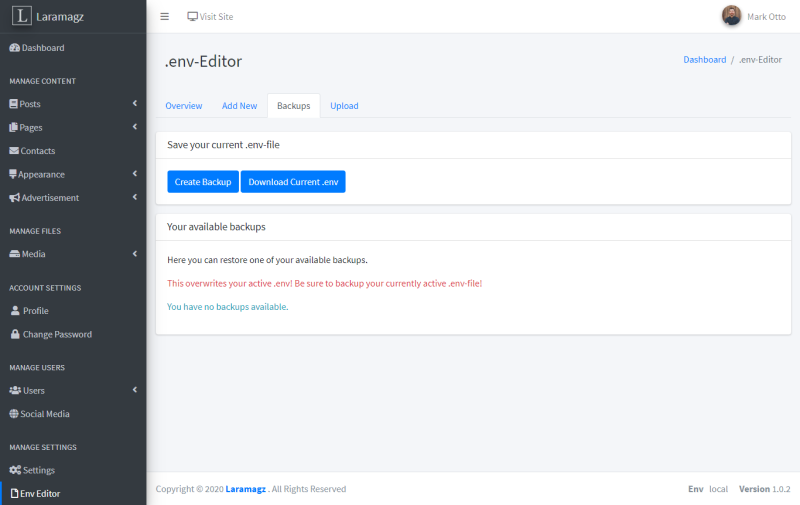
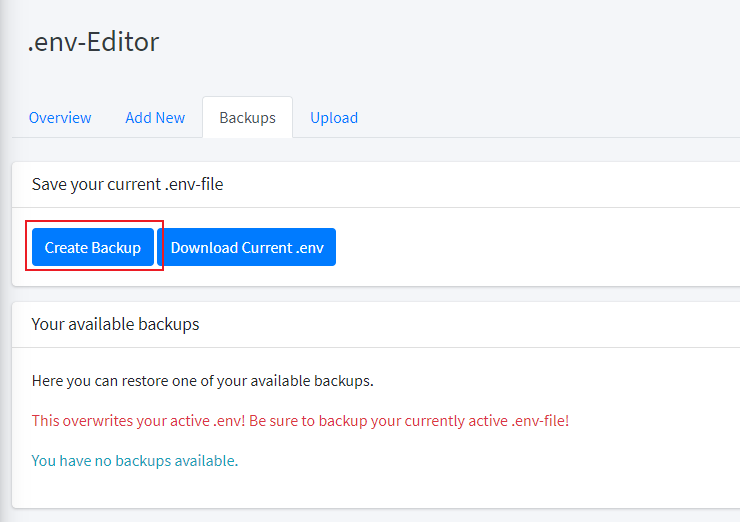
15.5.1. Create Backup
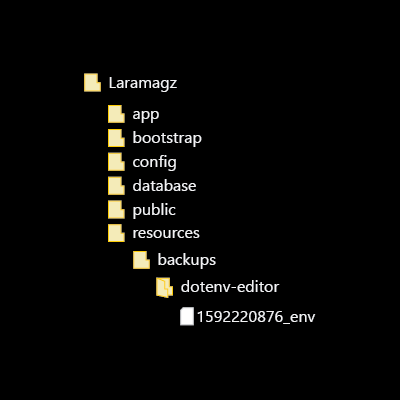
15.5.2. Result Backup
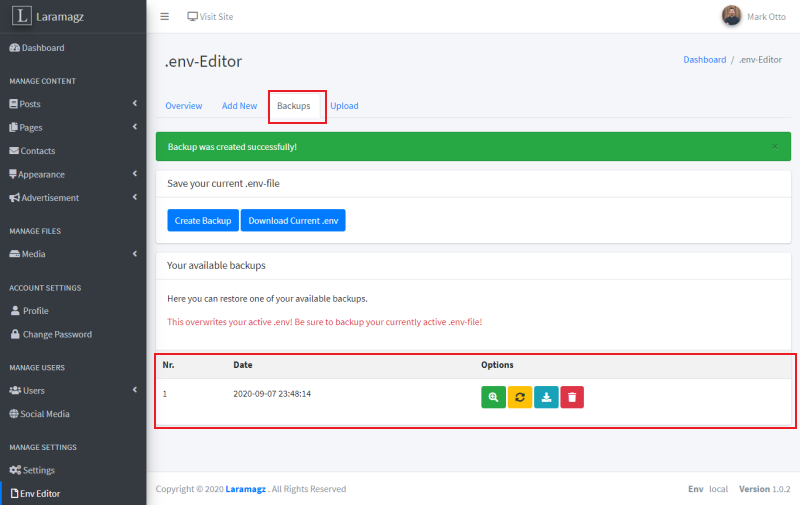
Env backup file saved to resources/backups/dotenv-editor
15.6. Download current .env
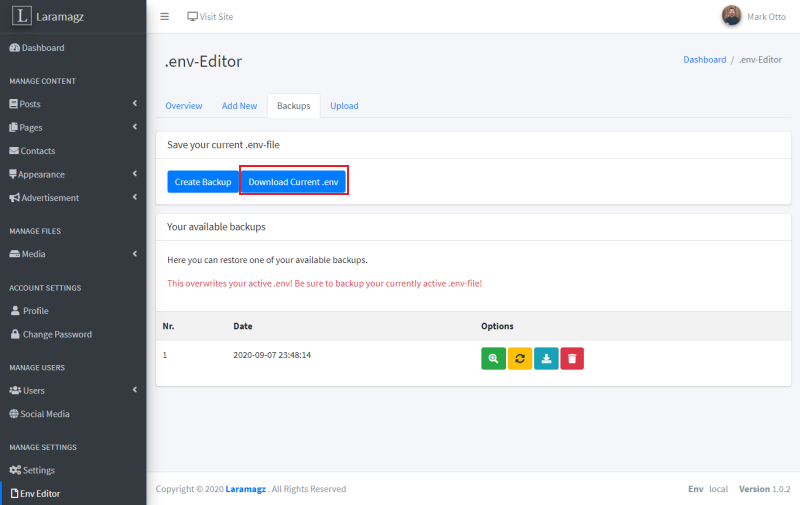
The file download results.

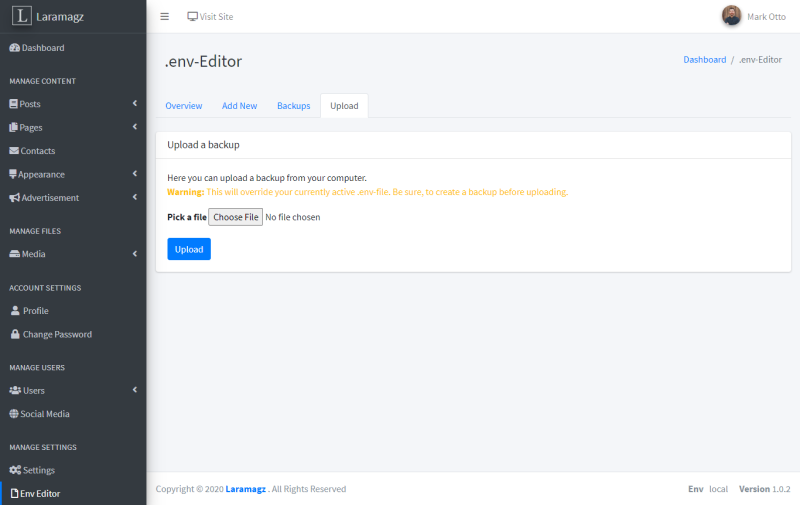
15.7. Upload
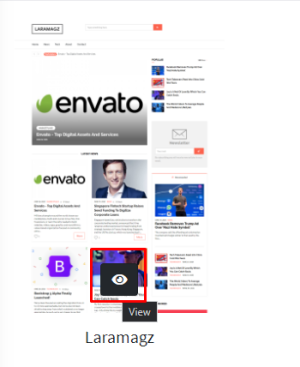
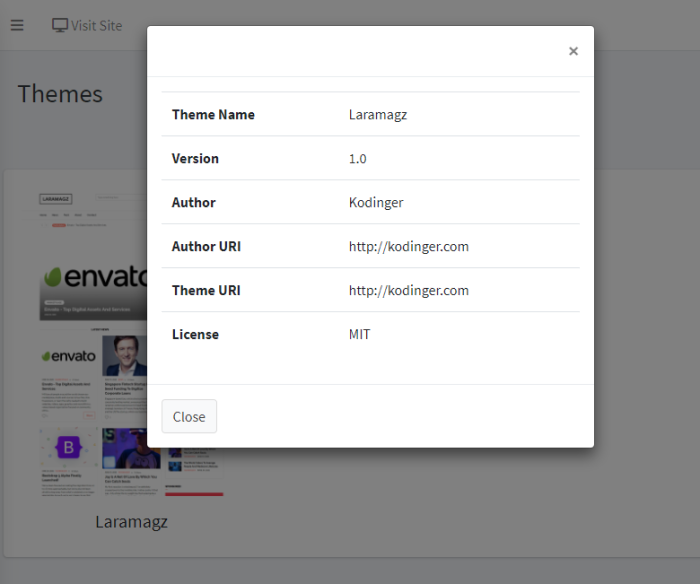
16. Themes
Current Theme
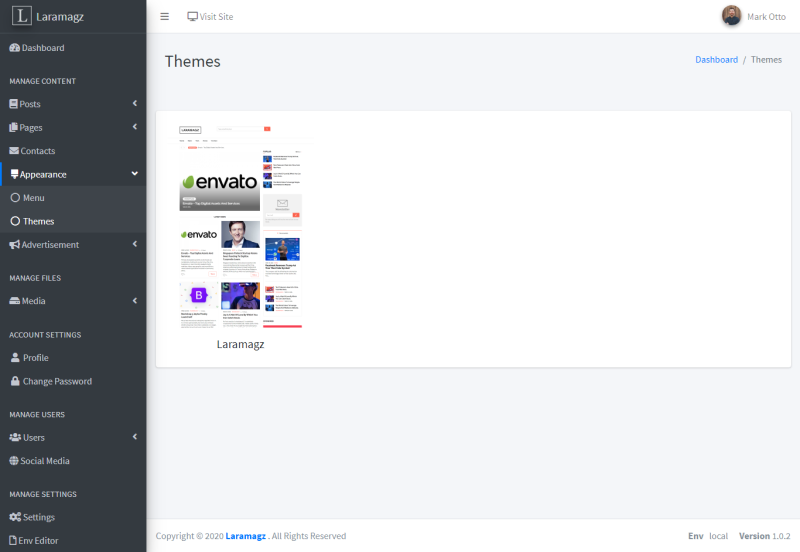
View Info Theme